Troubleshooting for Certificate Validation Failure
How to Check for Certificates in the Windows Store
- Certificate validation ensures the server’s authenticity during remote sessions.
- Verify that your remote customer’s PC has updated certificates in the Windows Store.
- If the certificate is missing, export it from the target server and manually install it in the device’s certificate store.
How to Export the Required Certificate from the Domain
Follow these steps to export the certificate:
- Open a web browser and navigate to https://gateway.zohoassist.com.
- Click the lock icon in the address bar.
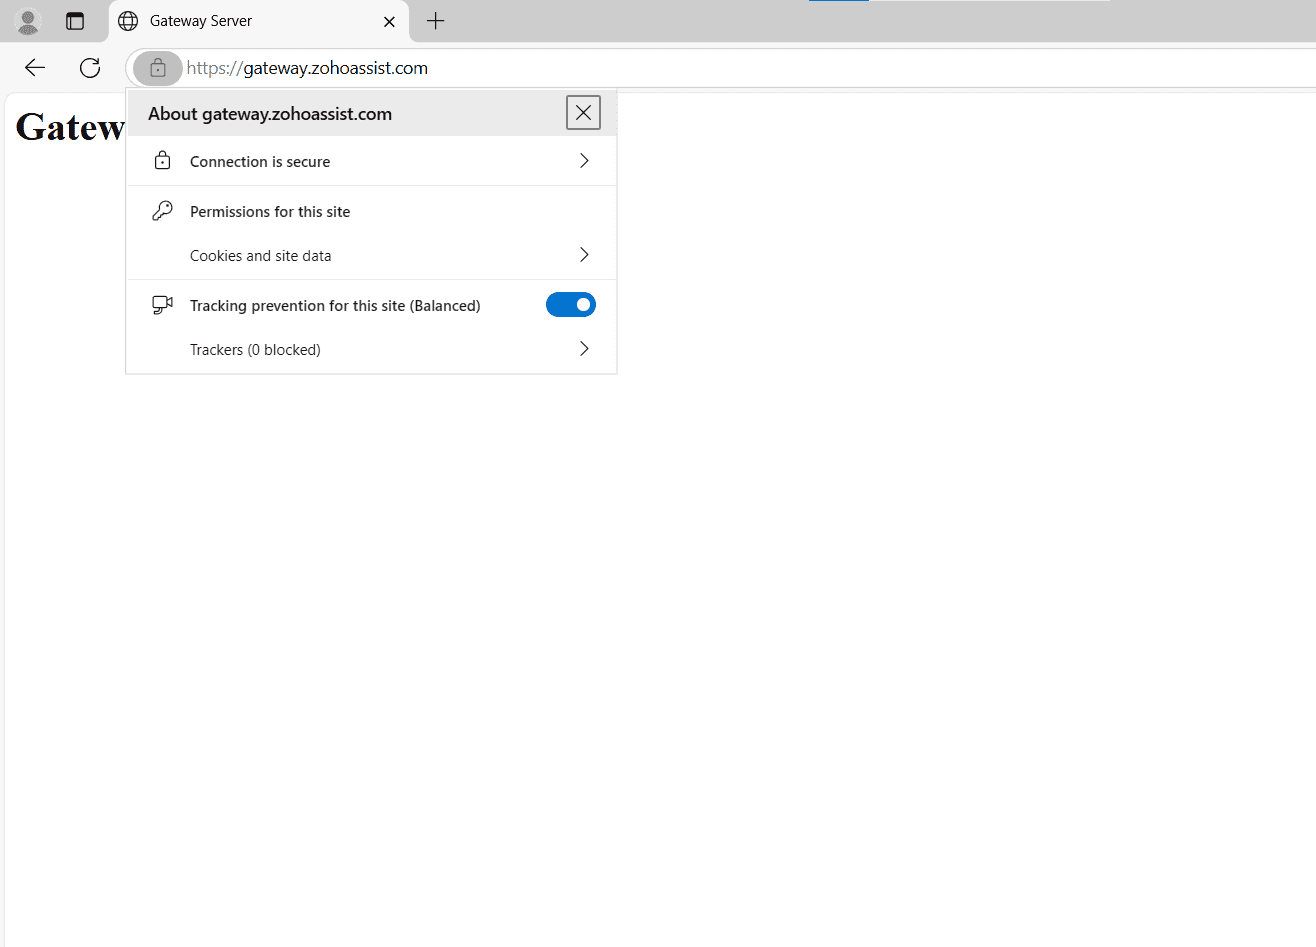
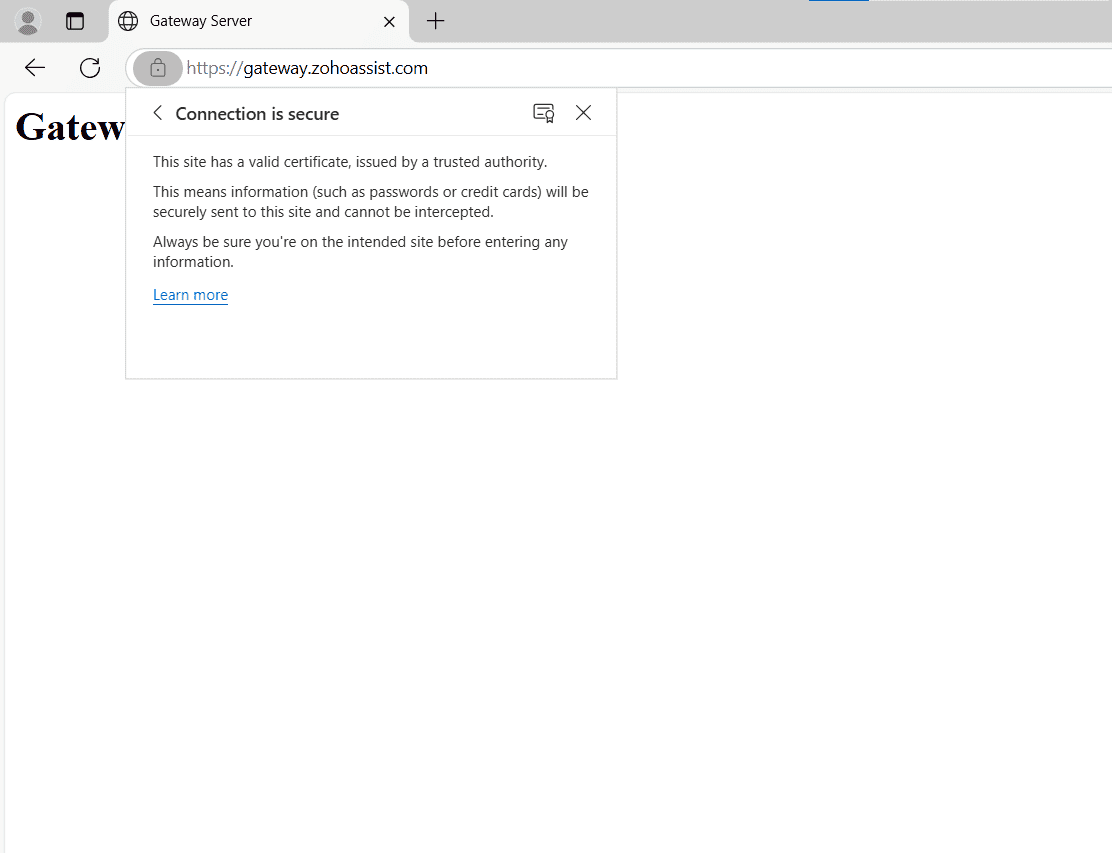
- Select Connection is secure, then click Certificate is valid or the Certificate icon (based on your browser).
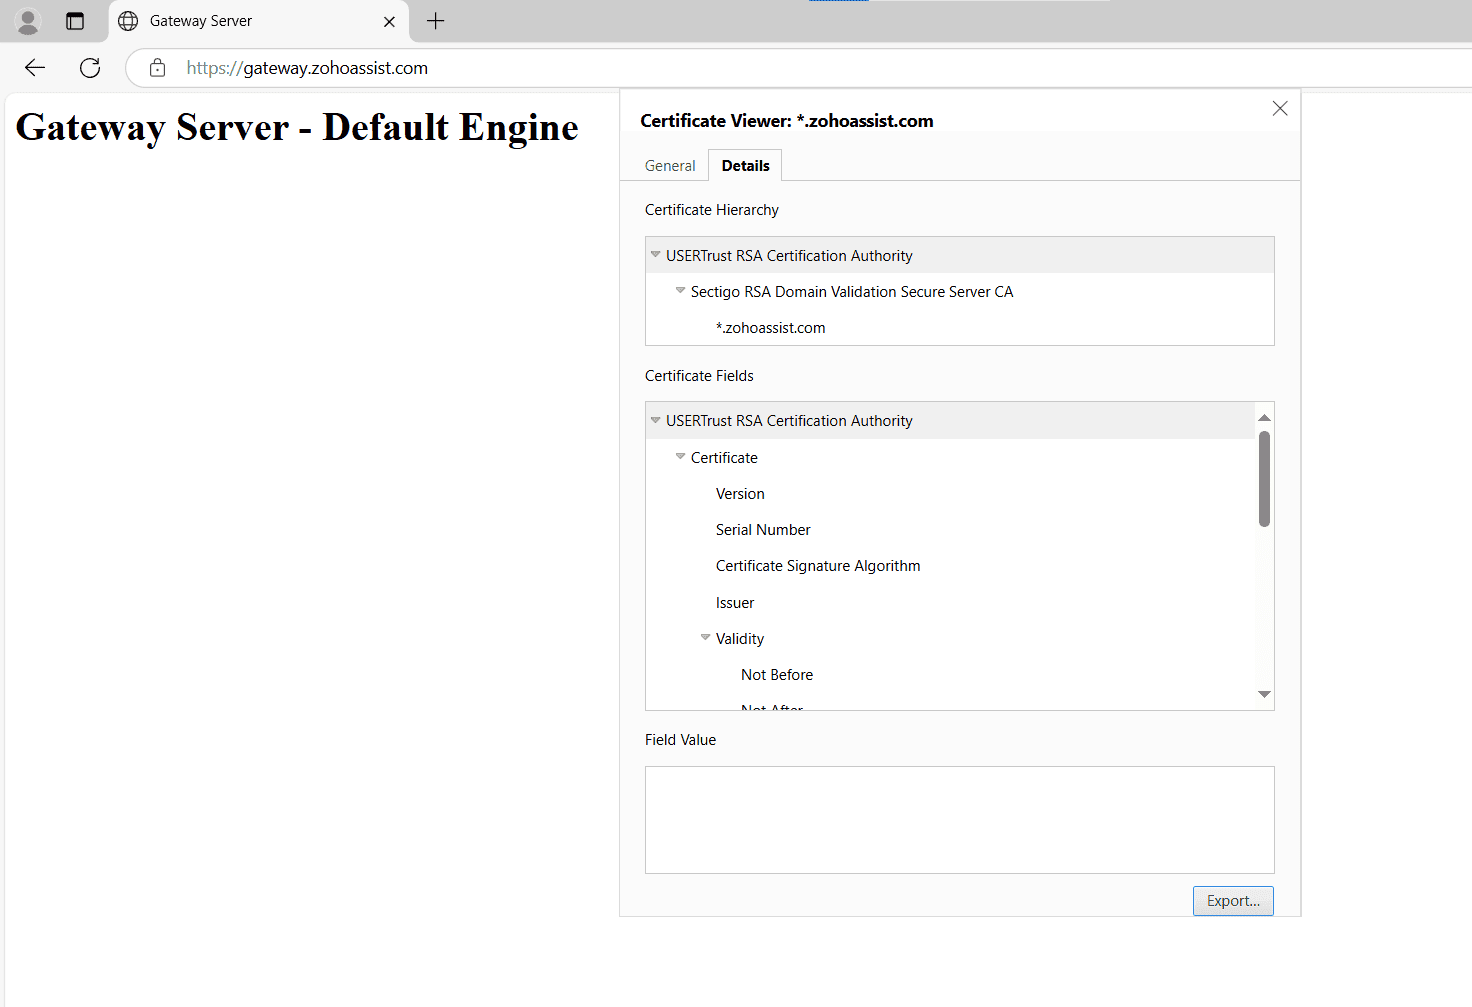
- In the Details tab, view the certificate chain and select the topmost (parent) certificate.
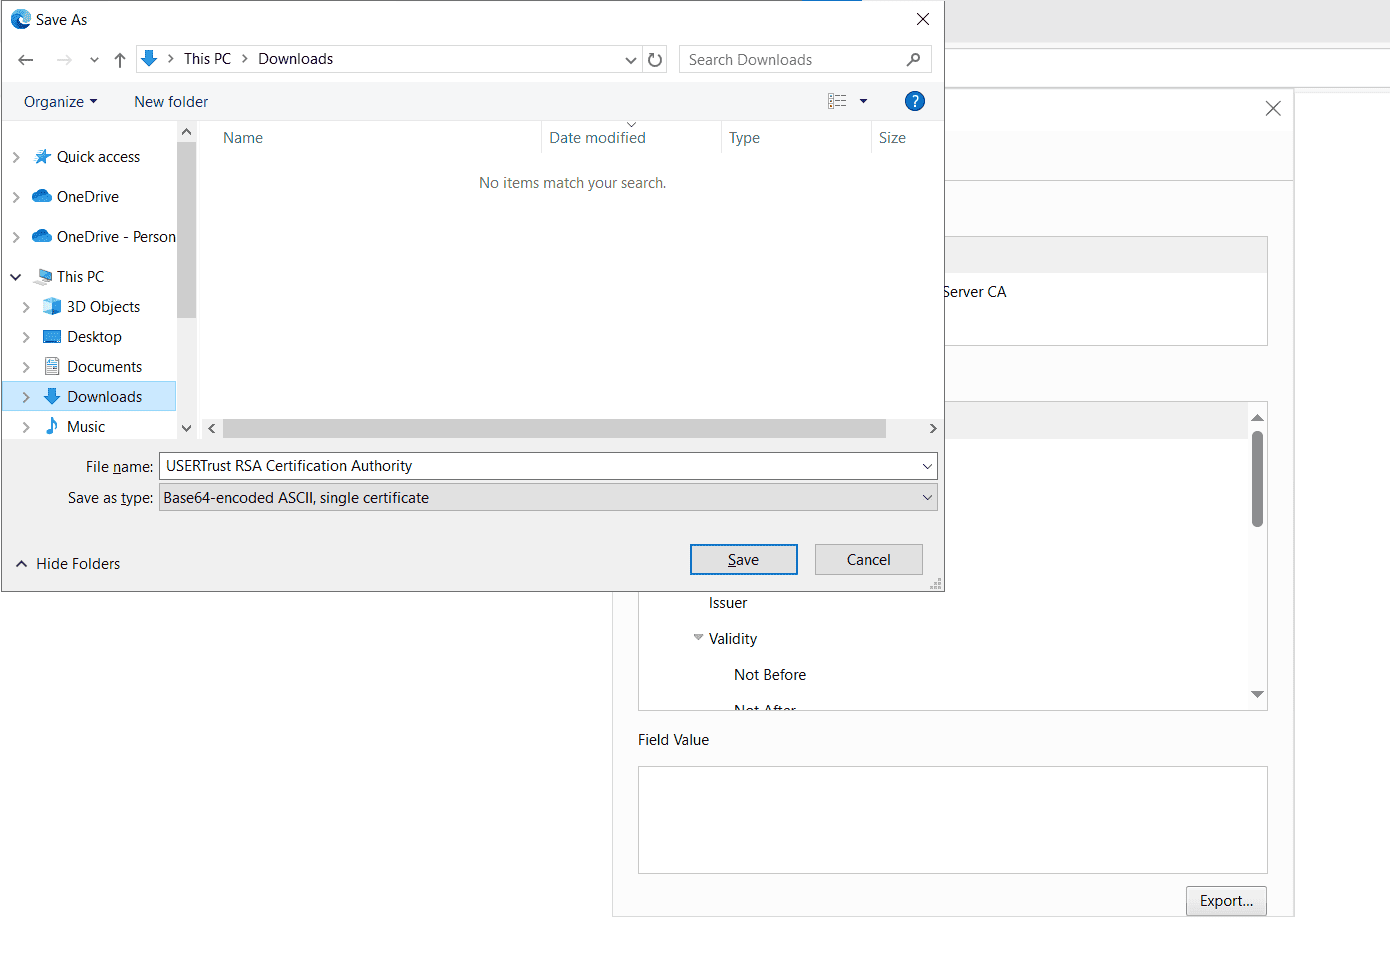
- Click Export to download the certificate.
- Choose a directory to save the certificate to your device.
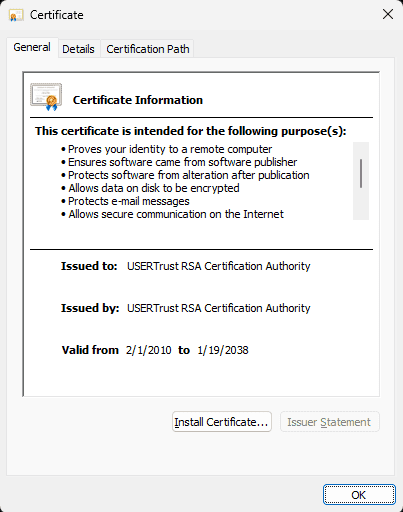
How to Install the Exported Certificate
- Navigate to the folder where the certificate was saved.
- Double-click the certificate file to open it.
- Click Install Certificate in the details window.
- Select Local Machine as the store location and click Next.
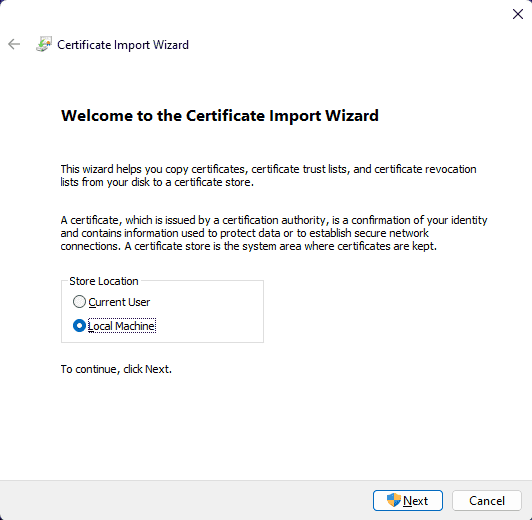
- Complete the wizard and click Finish.
- Once installed successfully, a message appears: The import was successful. Click OK.
Note: To avoid future validation issues, ensure automatic root certificate updates are enabled on the remote device.
How to Enable Automatic Root Certificate Updates
- To enable automatic root certificate updates via Group Policy Editor:
- Press Win + R, type gpedit.msc, and press Enter.
- Navigate to:
Computer Configuration > Administrative Templates > System > Internet Communication Management > Internet Communication Settings - Double-click Turn off Automatic Root Certificates Update.
- Set it to Disabled to enable automatic updates.