Zoho Recruit - Zapier Integration
Tracking and managing the multiple apps you use for work is challenging. This simple integration with Zapier, a web automation platform, allows you to connect the apps you use with Recruit to easily automate tasks. With this integration, even non-developers will find it easy to connect their web services together, thus saving time and improving productivity.
How does it work?
All you need to do is create automations using triggers and actions called zaps and then connect two Zapier-supported apps to each other.
The trigger, search, and actions supported by Zoho Recruit:
Trigger
- New Record - Triggers every 15 minutes if a new record is created.
Search
- Find Contact - To find a contact with the provided email ID.
- Find Candidate - To find a candidate with the provided email ID.
Actions
- Create Record - Creates a new record.
- Send Email - Sends an email notification related to the record action
We have some pre-defined zaps to help you get started:
Capture new candidates
Automate tasks
Sync contacts across apps
How can I create a zap?
You can create a zap by adding a trigger, and generating an action based on the trigger set. For example, you want to create a new record in a third party app like Mail Chimp for every new entry in Zoho Recruit or vice versa. Let's see how it's done.
Zoho Recruit as a trigger:
Log into your Zapier account.
Click Make a Zap.
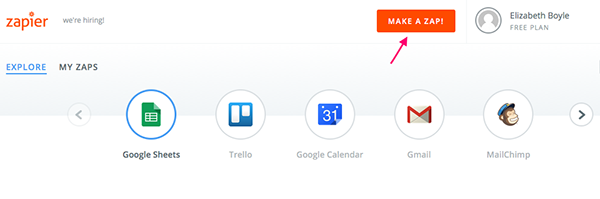
Under Choose a Trigger App, select Zoho Recruit.
Click Continue.
Under Select Zoho Recruit Trigger, select New Record.
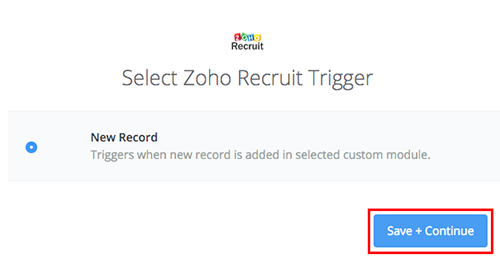
Click Save + Continue.
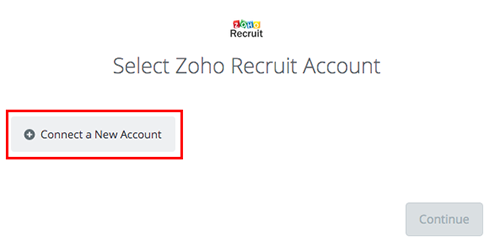
To connect your Zoho Recruit account to Zapier and access all the services click Connect a New Account.
In the Connect an Account - Zapier window, click the auth token link given in the page, generate an auth token, and enter it in the Authtoken description field.
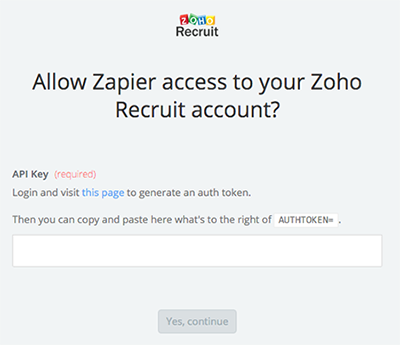
Click Yes, continue.
Click the Test button next to the newly added account to ensure the connection is successful.
Your Zoho Recruit account is now connected to Zapier.
Click Save + Continue.
In the Set up Zoho Recruit Record page, select the module and custom view under which the new record needs to be added.
Click Continue. Now, test your Zoho Recruit trigger by fetching an existing record.
Click Fetch & Continue.
Click view your record link, and check the record.
Click Continue.
Note: You can use the Search action to search and filter the fetched records.
Zoho Recruit as an action:
- Under Choose an Action App, select Zoho Recruit.

- Click Continue.
Select Zoho Recruit Action page is displayed. - Under Create, select Create Record.
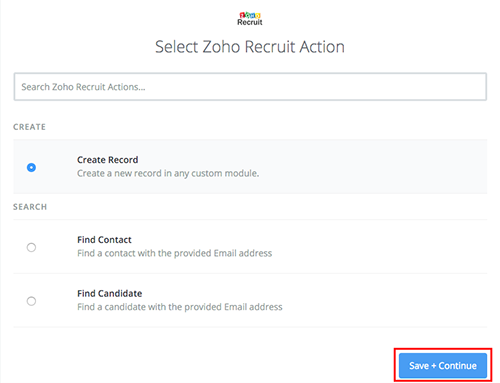
- Click Save + Continue.
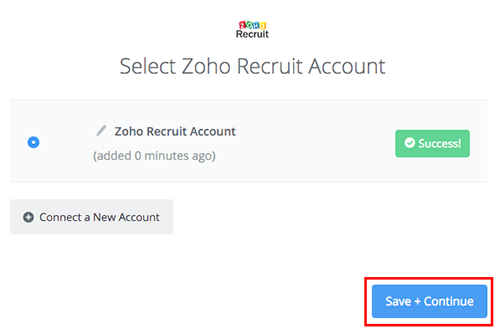
- Select Zoho Recruit Account.
- Click Save + Continue.
- In the Set up Zoho Recruit Record page, select the module from the drop-down list. Based on the module selected, the rest of the fields will be auto-populated.
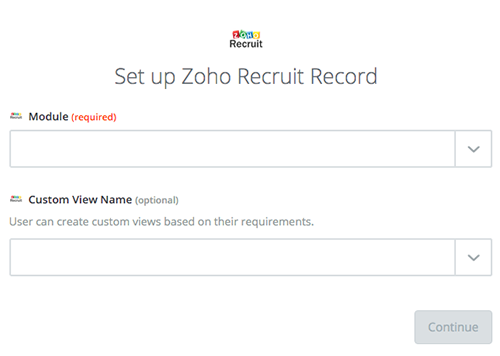
- Map the necessary fields and click Continue.
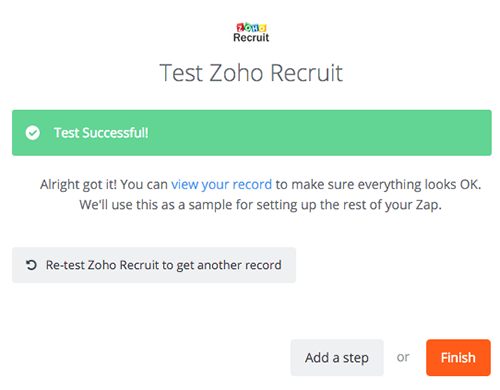
- You can either test this step or continue with the Create process.
- Click Finish once the process is complete.
FAQ
- How can I generate the auth token?
Use the following link to create the auth token:
https://accounts.zoho.com/apiauthtoken/create?SCOPE=ZohoRecruit/recruitapi
- It still doesn't work. What should I do?
Contact your Zoho Recruit administrator to enable API access.
- It says that the record already exists in Zoho Recruit. What should I do?
If you're creating records that share the same email address, Zoho often detects them in their deduplication logic (even if you've moved one of the records to the trash but haven't deleted it permanently). To fix this, make sure you delete any existing records that share the same deduplication key (email address is the most common one). If you want to turn this behavior off by default, follow these instructions.