
Email Templates
Add a personal touch to your invoices, order notifications and thank you mails. Make sure your clients and vendors perceive your care and commitment better, customize your emails to suit your business needs and the tone of your communication.
Guide layout:
Configuring email templates
To configure email templates,
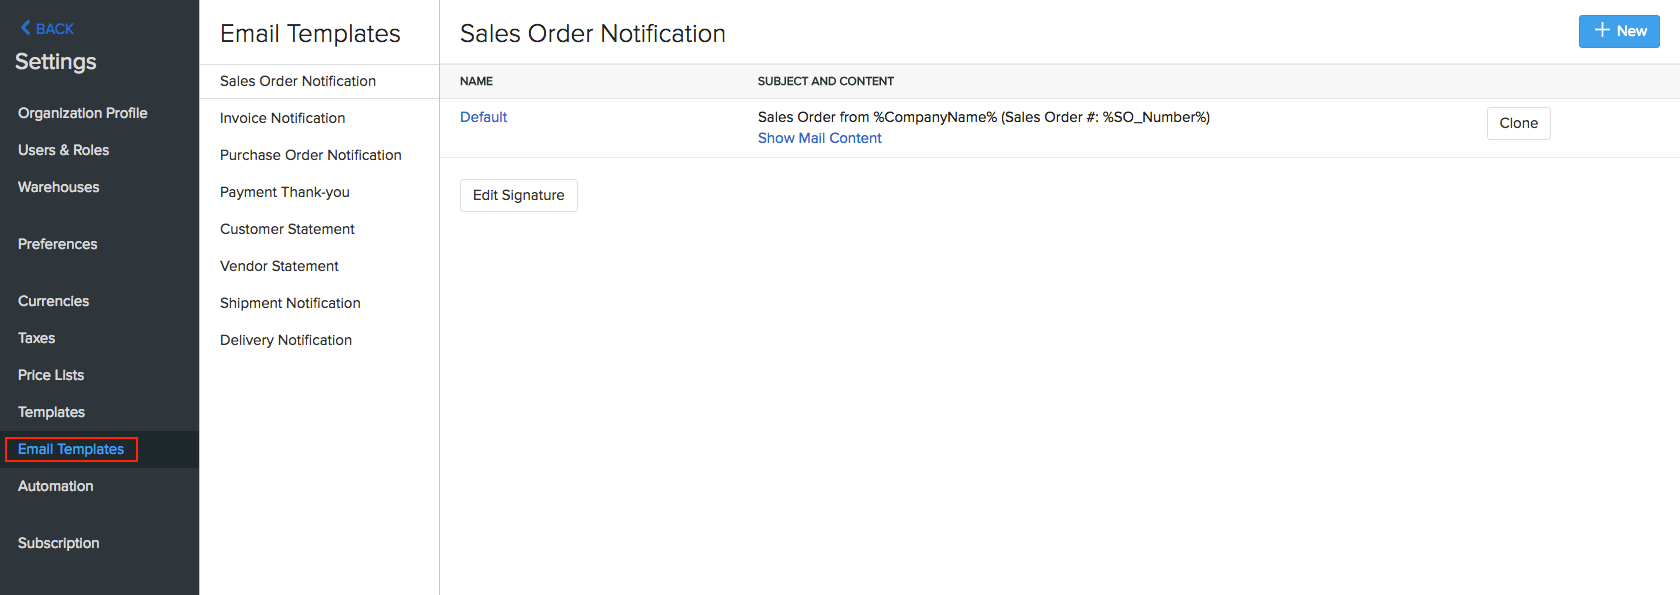
- Go to Gear icon > Email Templates.
Here you can choose the module for which you wish to customize the template for:
- Sales Orders
- Invoices
- Purchase Orders
- Customer statements
- Thank you on Payment
You can customize the pre-loaded templates or create new templates for invoices, sales orders and purchase orders and save them by clicking on the Save as New option near the bottom of the template.
To edit a template, hover over the template you wish to edit and select the Edit button.
After editing, press the Save button to save the changes.
You can also edit your signature by clicking on the Edit Signature button at the bottom of the page.
Associating a default template for a contact
You can associate pre-defined default or customized email templates to your contacts as desired. This includes the ones you have created and added to the Zoho Inventory gallery.
To associate templates to a contact:
- Go to Contacts Section on the Home page.
- Select the contact for which you wish to associate from the contact list pane.
- Click on ‘More’ button provided on the top right of the page.
- Select ‘Associate Templates’ from the drop-down options provided.
- A new associate template window appears.
- You can now create, select and assign a customized Email notification templates, for your contact as desired.
- The following instructions explain how this can be done.
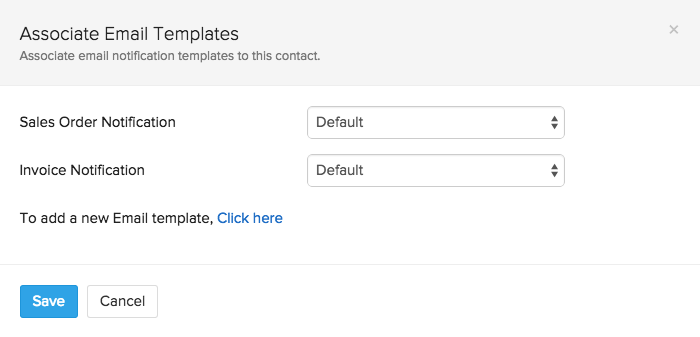
Customizing Email Templates
Under the ‘Email Templates’ section, you can select and assign the template from the drop down options of predefined default and custom templates for each of the following items:Invoice Notification, Purchase Order notification, Sales order notification.
To add a new Email Template:
- Click on More button and choose Associate Email Template option.
- Click on the ‘Click Here’ button provided.
- A new page from the Template section opens up.
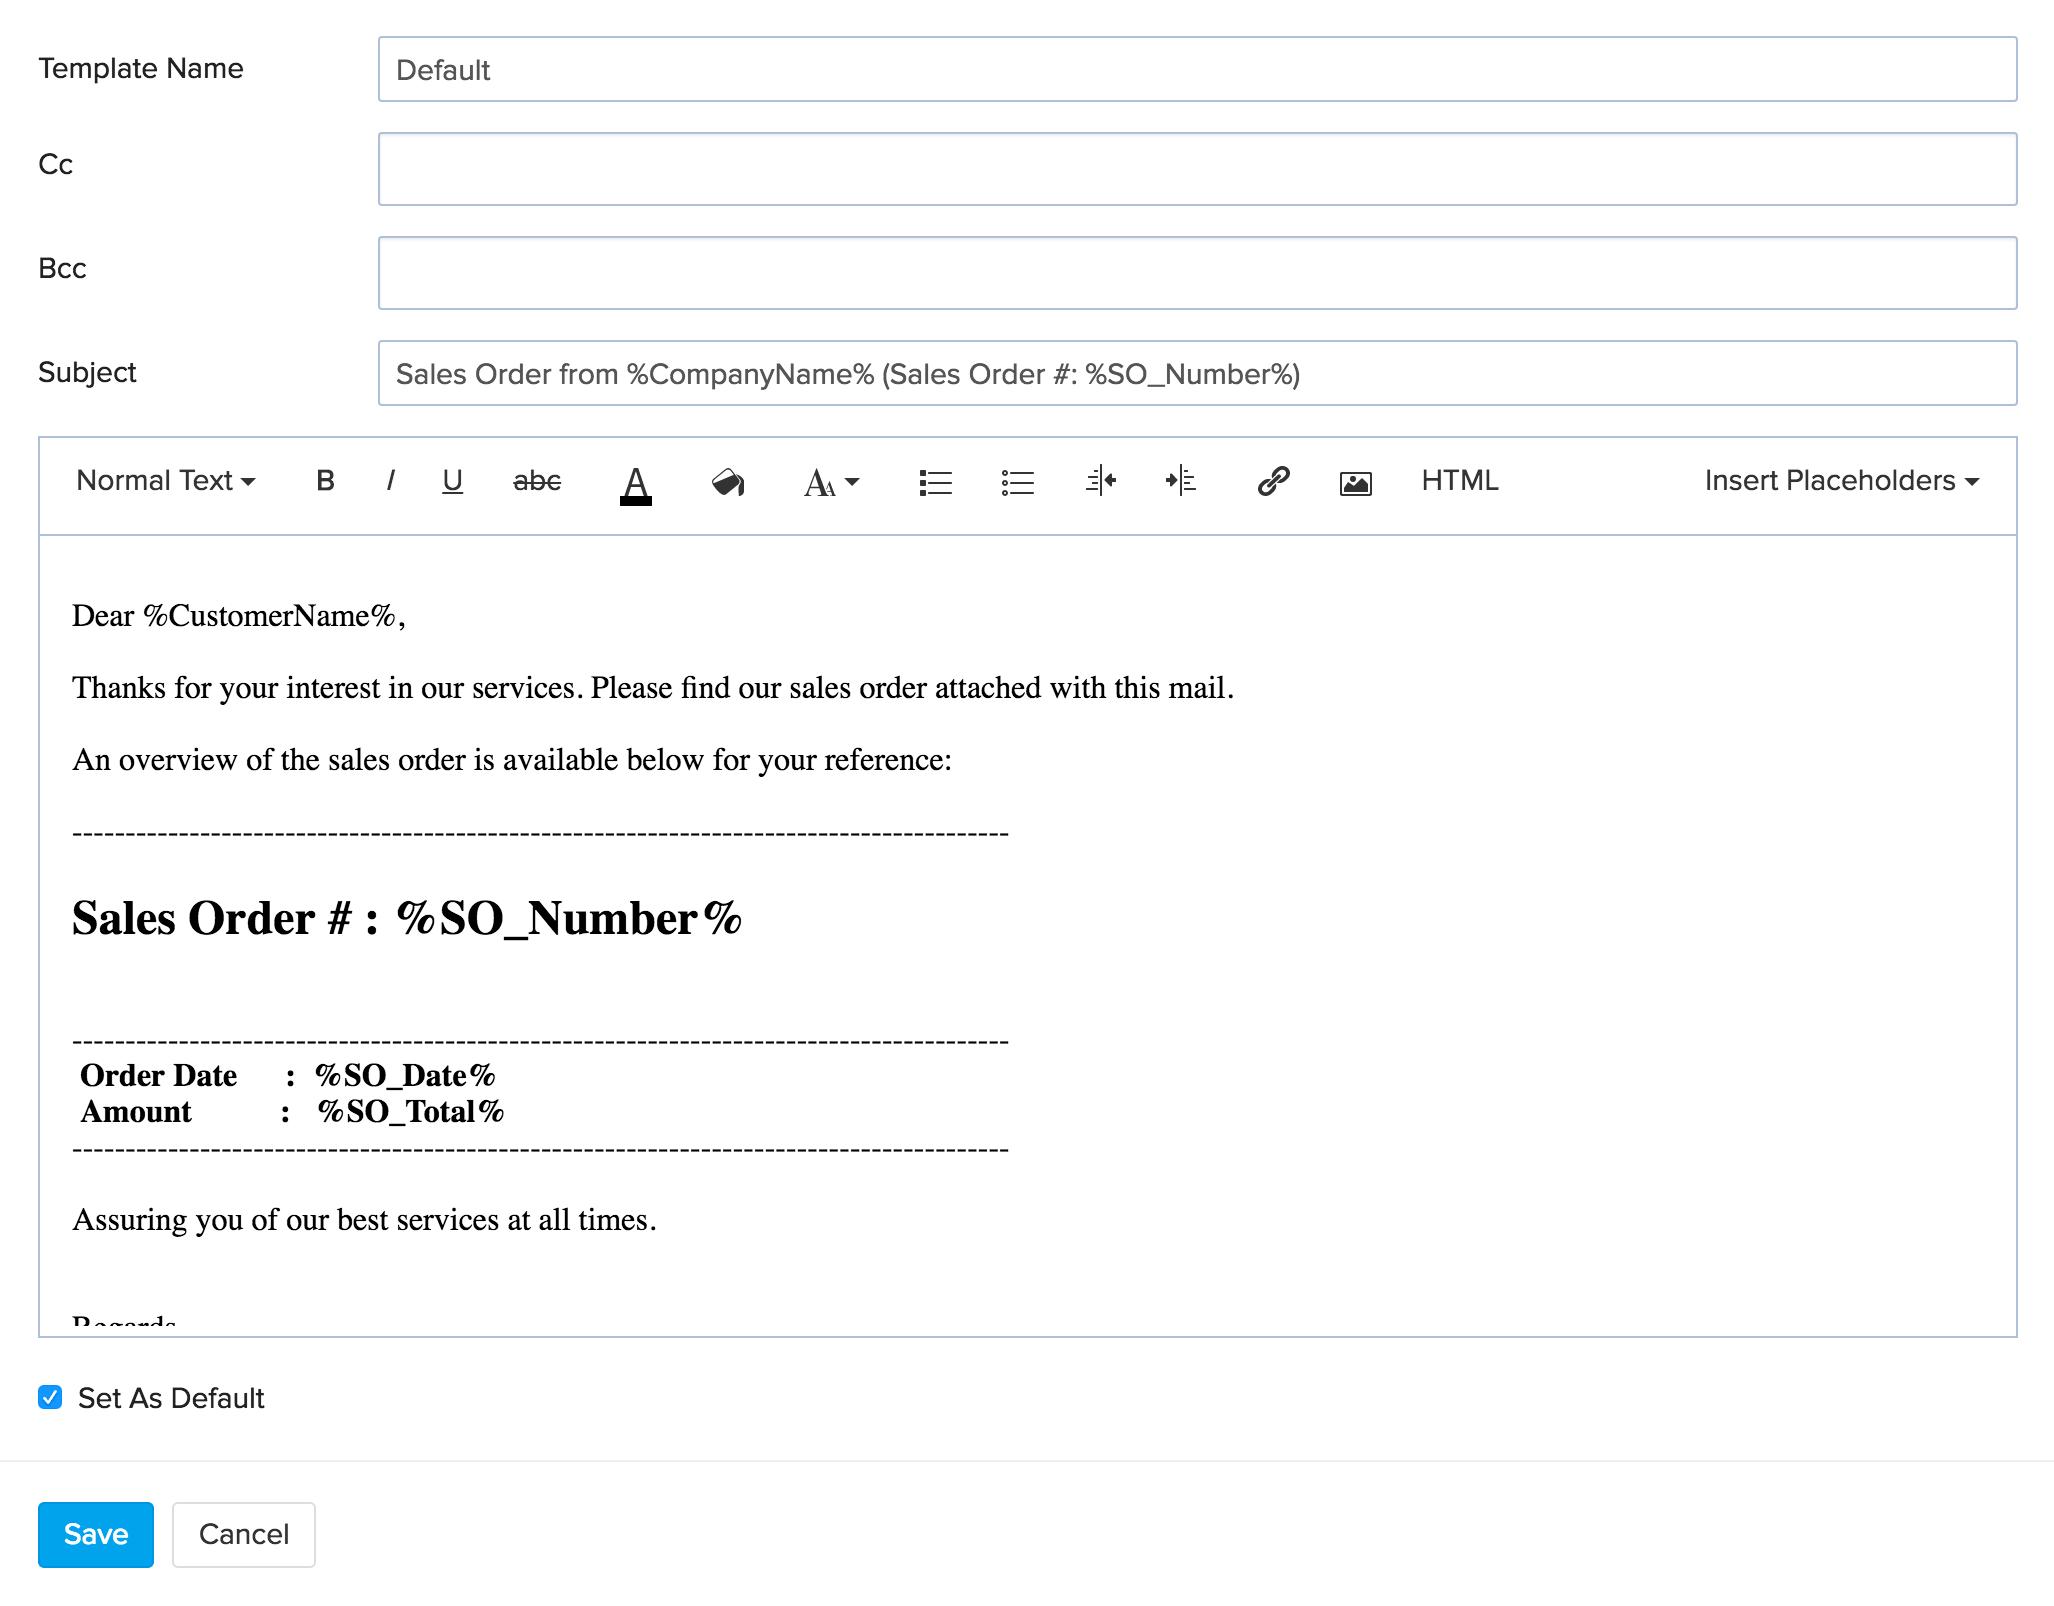
- Click on ‘Show Mail Content’ found under the Subject and Content column of the desired notification you wish to customize.
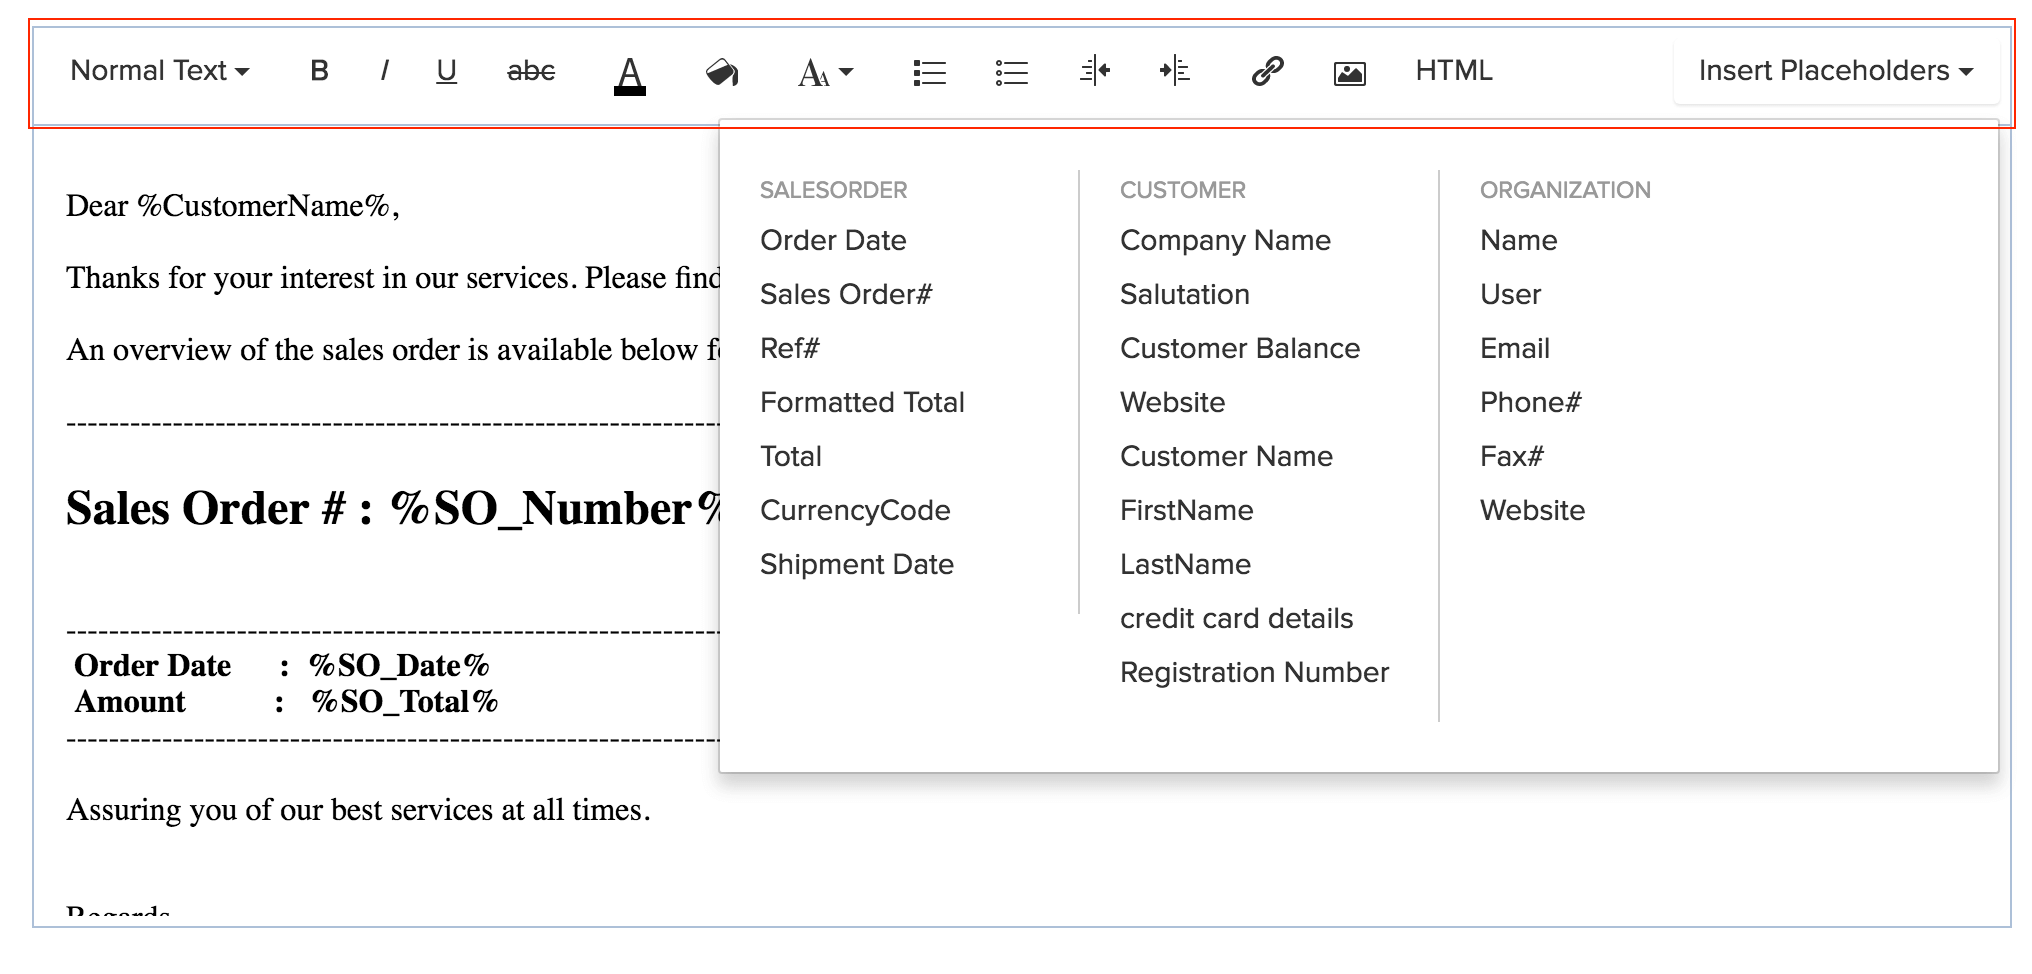
- Use the Rich Text editor to change the title, body message, text formatting, font size etc as desired.
- You can insert an image in the notification by placing your cursor where you would like the image to be placed and by clicking on the image icon. Provide a hyper link of the image in the field that appears.
- You can also provide a hyper link to specific part of the content. Just select the word or sentence that you wish to hyperlink, click on the hyper link icon and provide the relevant hyper link.
- In case you wish to add more dynamic content to your template, click on ‘Insert Placeholders’ button and select from the desired content title.
- If you wish to get a copy of the notifications you send to your customers, just check the box next to the field ‘Send a copy to me’, which is right toward the end of the page.
- Click Save to apply these changes and exit.
- To save these changes as a new template, click ‘Save as new’ instead.
- This template is now saved to the gallery as a new one and can be used for a specific customer.
- Click Save to confirm associating templates and proceed.