Multi-Factor Authentication (MFA) in Zoho Analytics
Multi-Factor Authentication (MFA) in Zoho Analytics adds an extra layer of security, ensuring only authorized users access your data. When enabled, users must complete secondary authentication through methods like authenticator apps, OTPs, security keys, etc. This additional security layer effectively prevents unauthorized access while protecting your valuable business data.
- Set up multi-factor authentication
- Backup verification codes
- Manage multi-factor authentication settings
- Enable or disable multi-factor authentication
Set up Multi-factor Authentication
Follow these steps to enable MFA for your Zoho Analytics account:
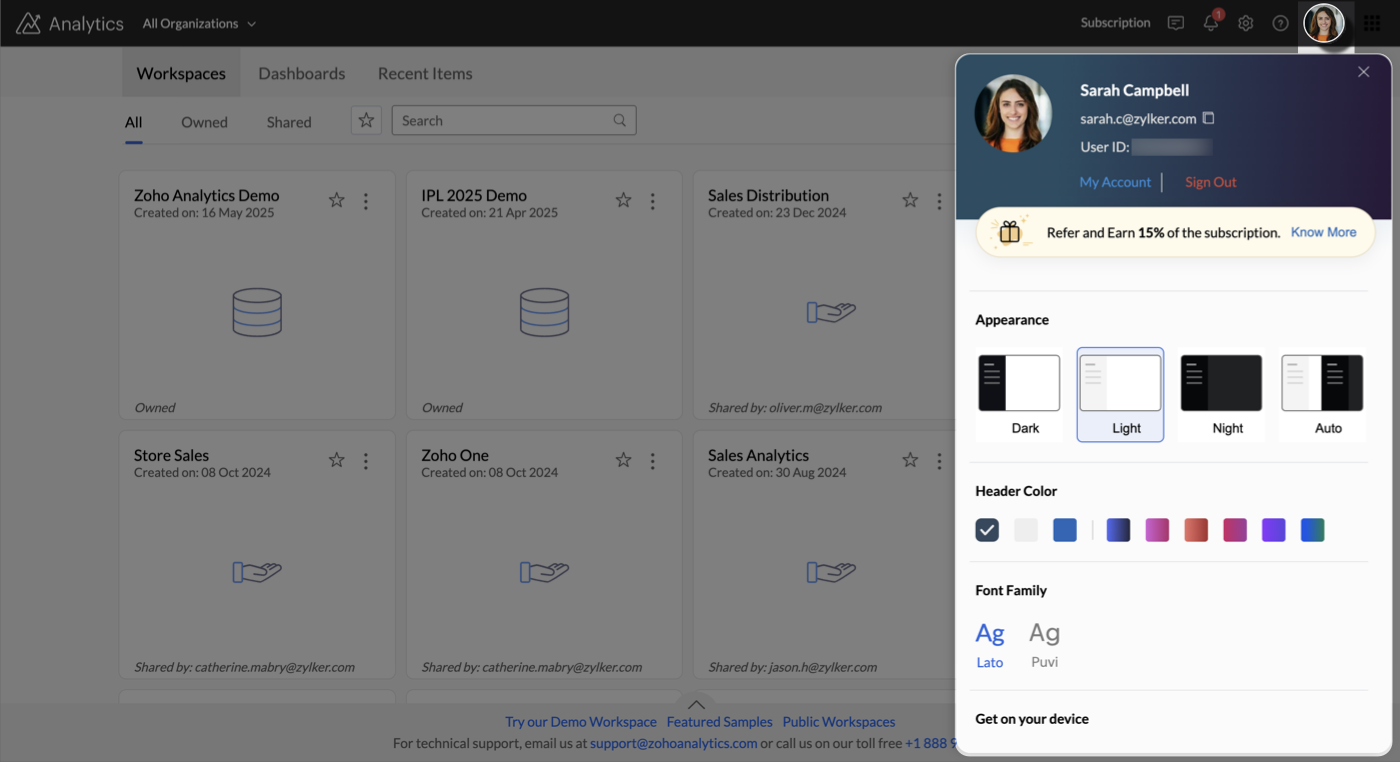
- Click the Profile icon in the top-right corner and select My Account.
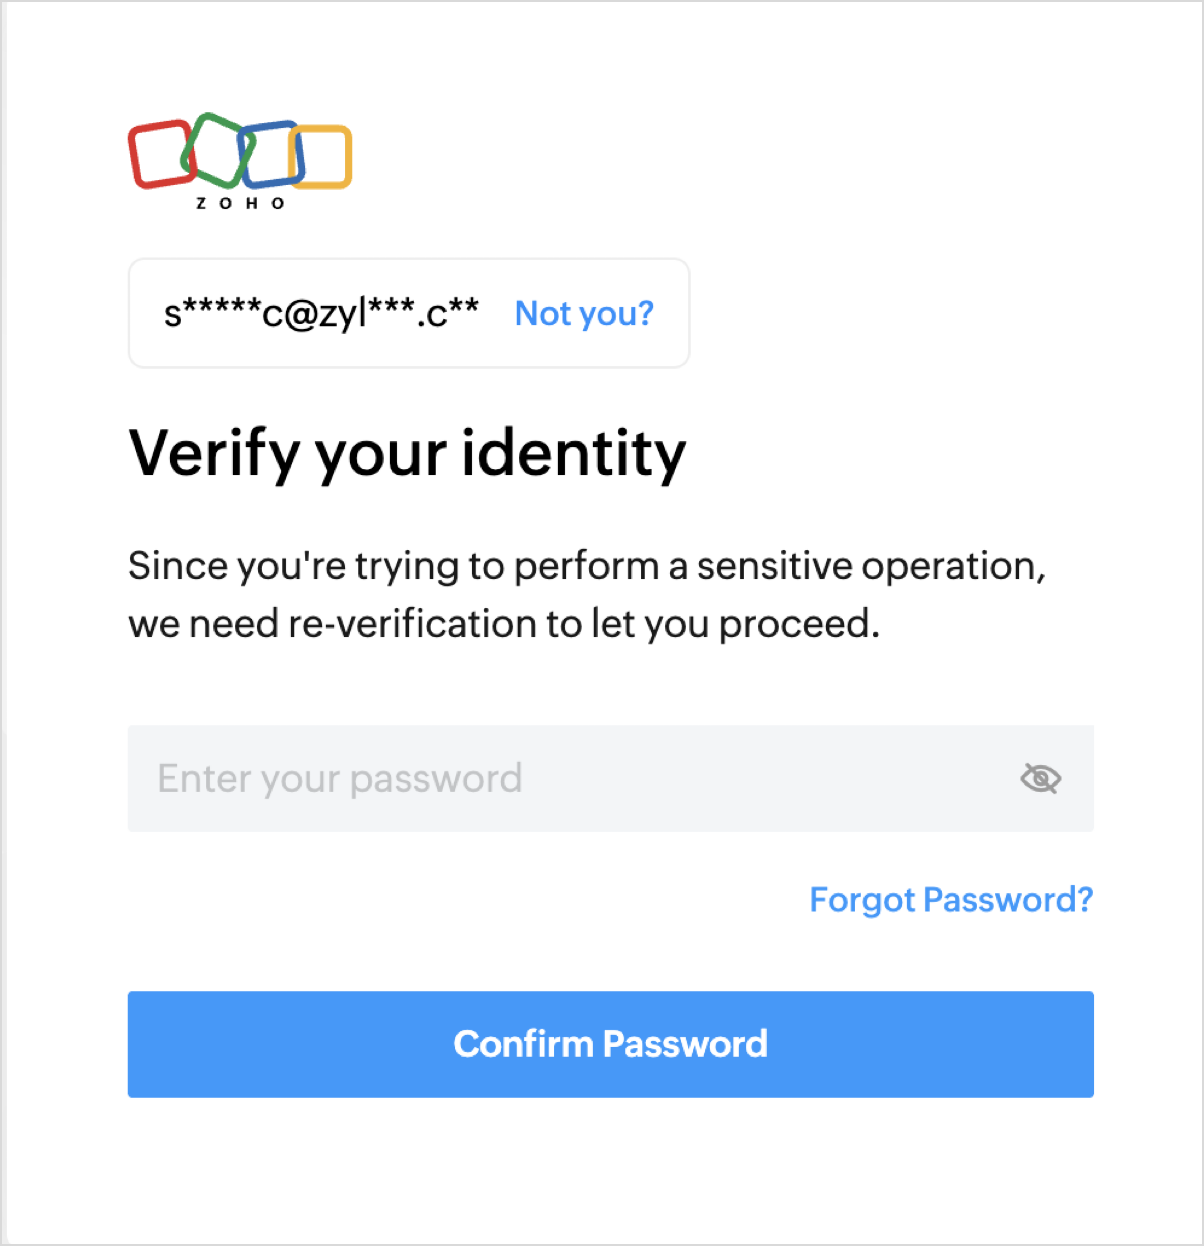
- Re-enter your password for verification.
- In the Zoho Accounts page, go to Multi-Factor Authentication in the left sidebar.
- Choose from the available MFA methods:


1. Zoho OneAuth
Zoho OneAuth offers powerful authentication features including password-less login, OTP verification, and mobile SSO for all Zoho apps. With multi-device support, multiple account protection, and easy recovery options, it provides both security and convenience. It's available for both Android and iOS.

2. SMS-based OTP
SMS-based OTP adds an extra security layer by sending one-time passwords directly to your mobile device. This simple yet effective method prevents unauthorized access while ensuring convenient verification.
To set up SMS-based OTP
- Select SMS-based OTP mode in the MFA Modes section.
- In the Add MFA Mobile Number dialog that opens, enter the mobile number and click Next.
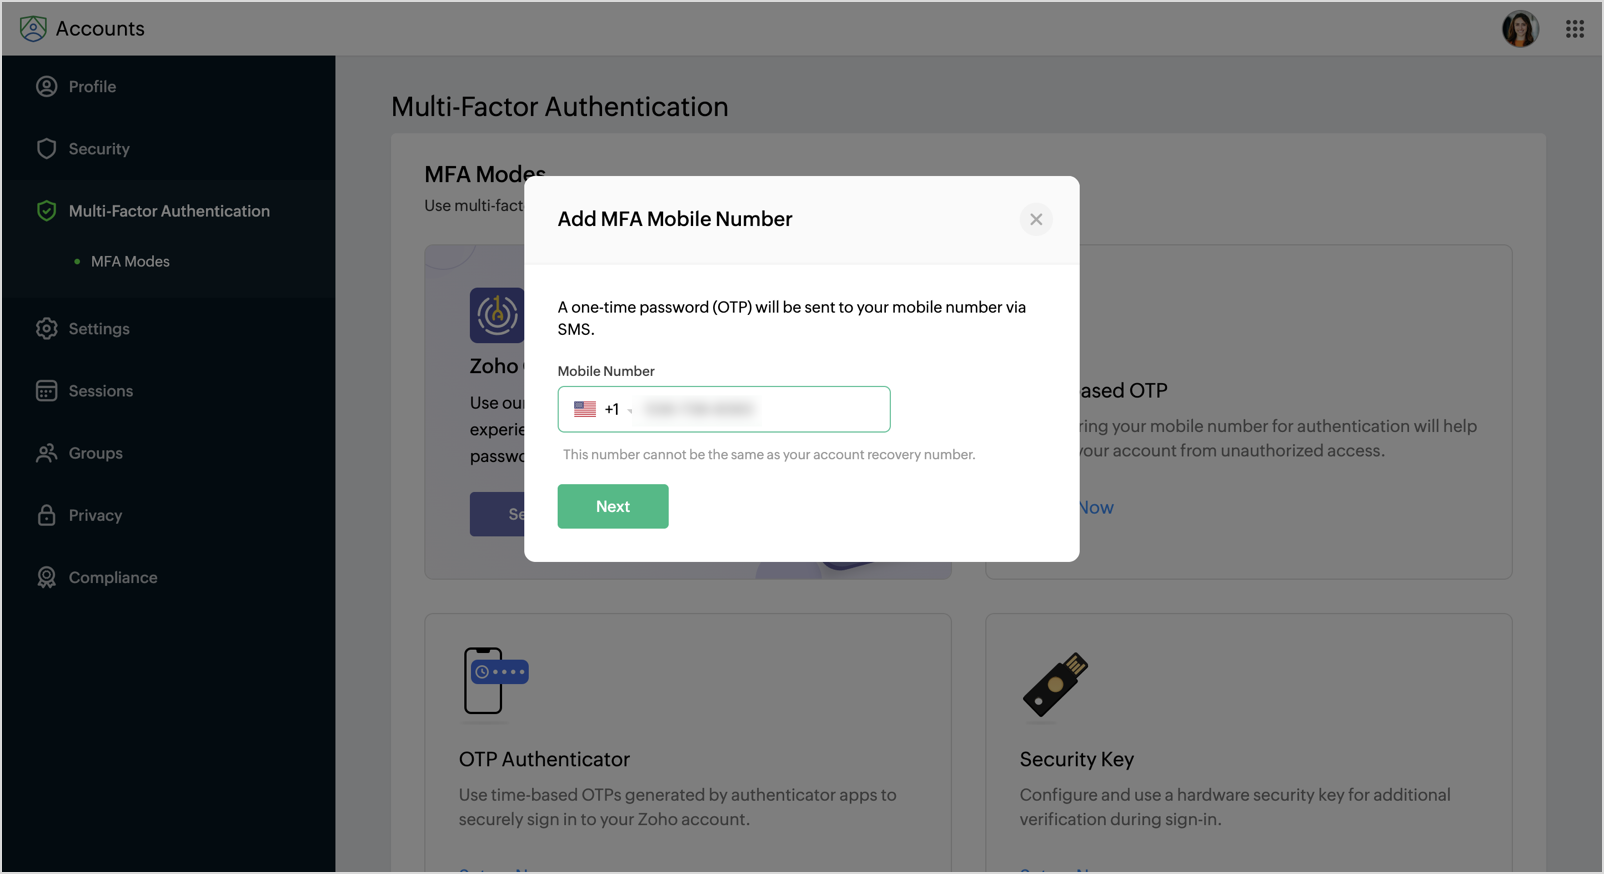
- An OTP will be shared with the mobile number. Enter the OTP and click Verify to configure MFA.
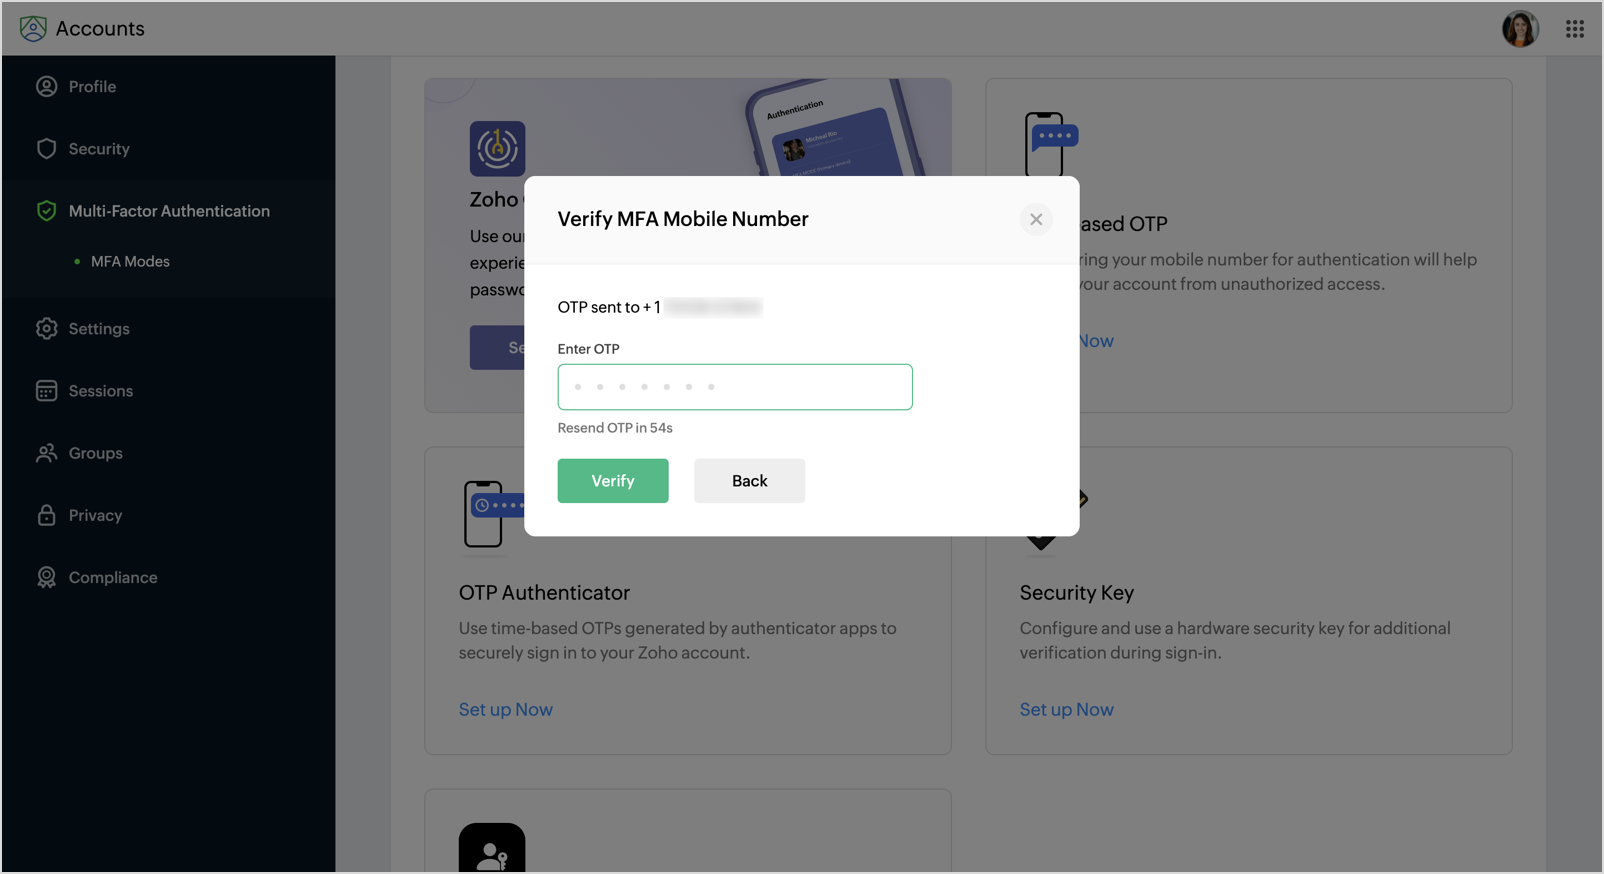
- Each time you login, an OTP will be sent to the verified mobile number for authentication.


3. OTP Authenticator
OTP authenticator apps (e.g., Google Authenticator) generate time-based, one-time passwords for secure two-factor authentication. They provide instant codes and offer stronger security than SMS-based OTPs.
To set up OTP Authenticator
- Choose OTP Authenticator mode in the MFA modes section.
- The Set up OTP Authenticator dialog will open.
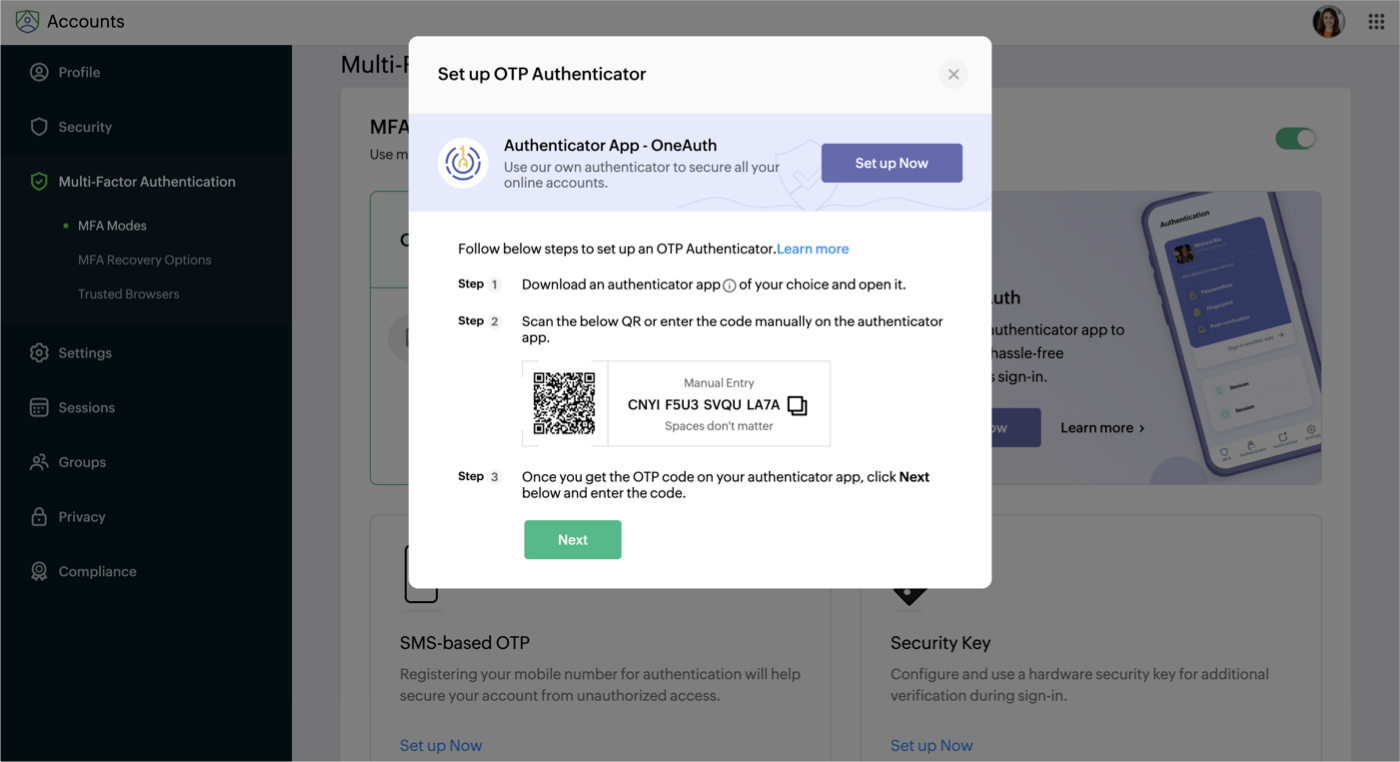
- Add your Zoho account to the authenticator app by scanning the QR code or entering the code manually. Click Next to proceed.
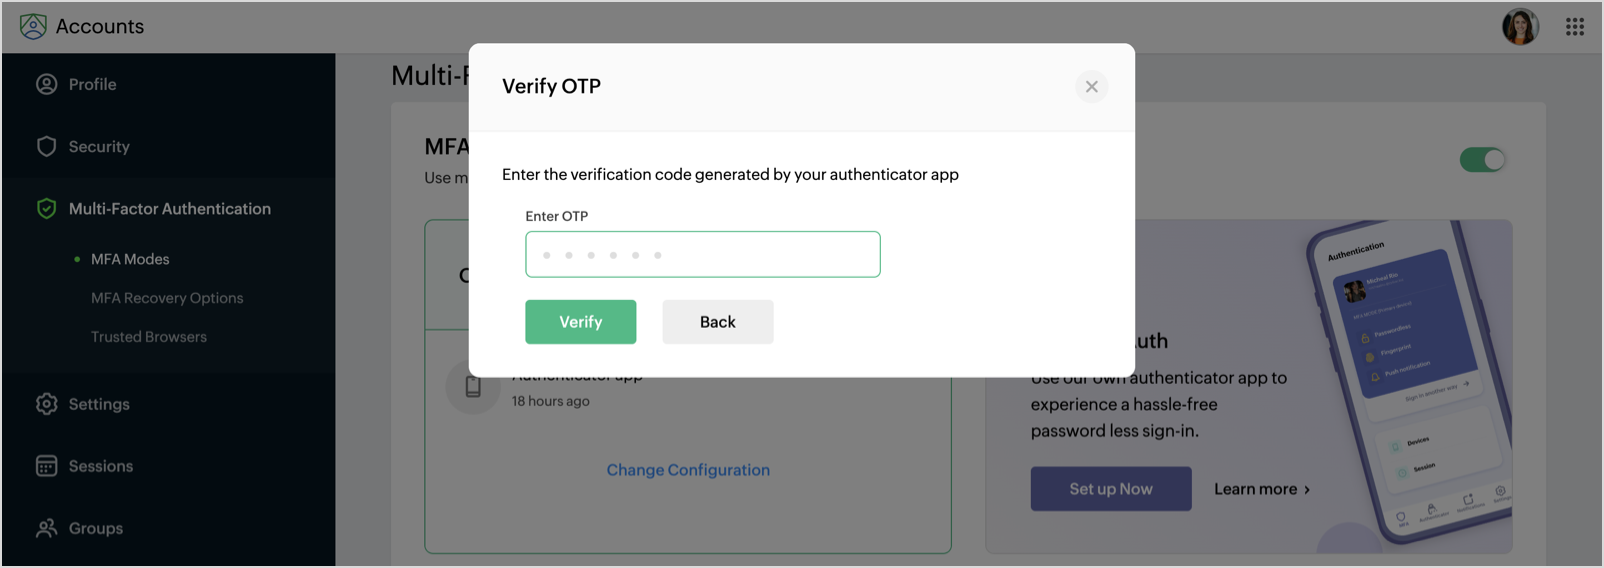
- A time based OTP will be generated in the authenticator app. Enter the code and click Verify to complete the multi-factor authentication configuration.


4. Security Key
Security key is a hardware device that can be used to enable multi-factor authentication (MFA). They don't need software installation to authenticate your accounts.
To set up the Security Key,
- Select Security Key mode in the MFA modes section.
- Insert your security key into the computer's USB port and click Next.
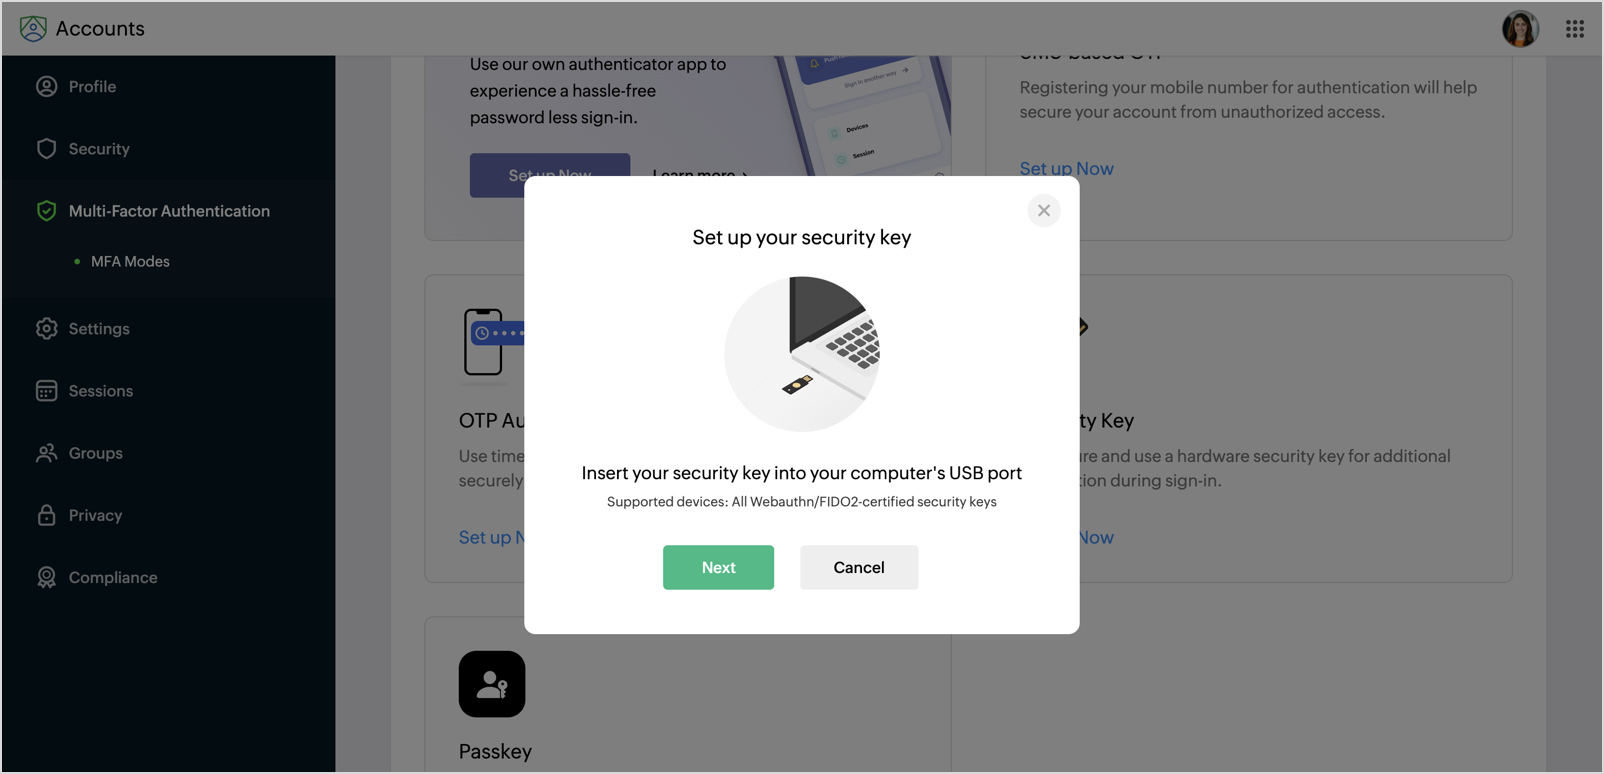
- Configure your mobile or tablet or USB security by connecting with the device to set up the complete MFA configuration.


For details about configuring the security key for Zoho Accounts, click here.
5. Passkey
A passkey is a Web Authentication (WebAuthn) credential that is an alternative for password. It uses biometric (such as fingerprint) or device-based authentication (such as PIN, password) to sign in to your account. Your devices that support FIDO2 will generate a unique passkey, store it securely on your device, and use it to sign in to your account.
To set up Passkey
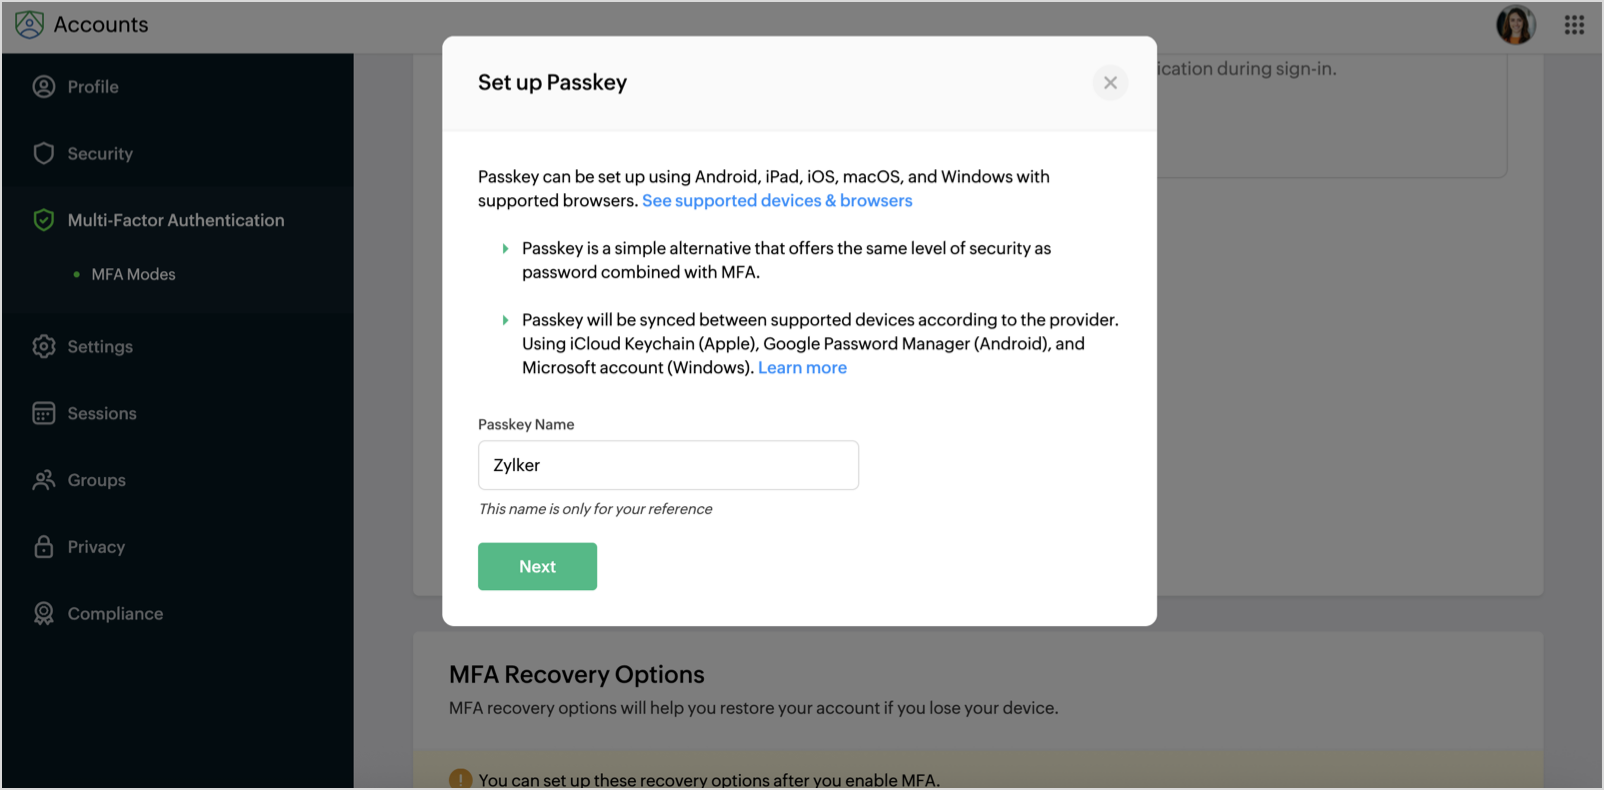
- Select Passkey mode in the MFA modes sections.
- The Set up Passkey dialog will open. Enter a Passkey Name and click Next.
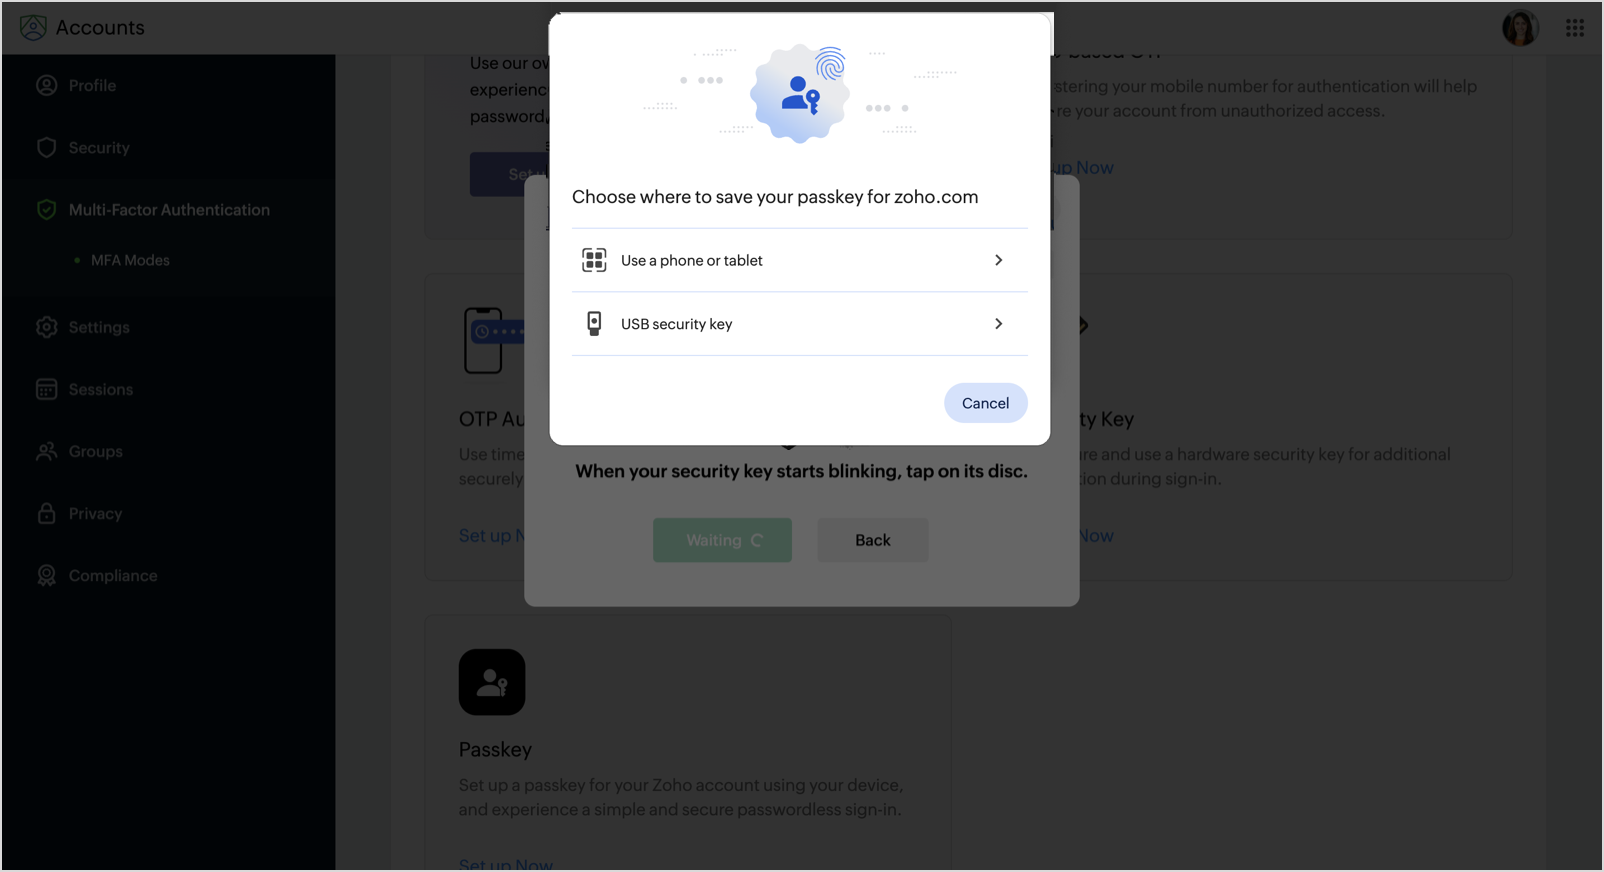
- Scan the QR code with the camera on the device or use your USB security key to create and save the passkey of your Zoho account.

- Then follow the steps shown on your device to complete the MFA configuration.


For details about configuring the passkey for Zoho Accounts, click here.
Backup Verification Codes
Backup verification codes prove beneficial when you are unable to log in using the Multi-Factor Authentication methods. You can generate five backup verification codes, and each of these codes can be used once to log in to Zoho Analytics.
After configuring any MFA mode, the Backup verification codes dialog will appear. Click Generate New Codes to continue.

Once the codes are generated, you will be prompted to download the codes or copy them to clipboard. It is mandatory.

Note: The backup codes dialog appears automatically after MFA setup. Codes are visible only once—save them immediately.
Login with Backup verification codes
- On the login page, enter your credentials and click Sign In.
- Select Can’t access your mobile device? option and choose Use backup verification code.
- Enter a saved code and click Verify.
Manage Multi-Factor Authentication (MFA) Settings
You can modify or remove your MFA configuration in Zoho Analytics when needed—such as switching authenticator apps or resetting a lost setup.
To Change Your MFA Configuration
- Click your Profile icon and navigate to My Account.
- In the Accounts page, select the Multi-Factor Authentication tab.
- Select Change Configuration next to your MFA mode. Follow the same configuration steps mentioned above to modify.
To Delete Your MFA Configuration
- Go to My Account > Multi-Factor Authentication.
- Hover over your configured app, click the Delete icon and click Confirm to continue.

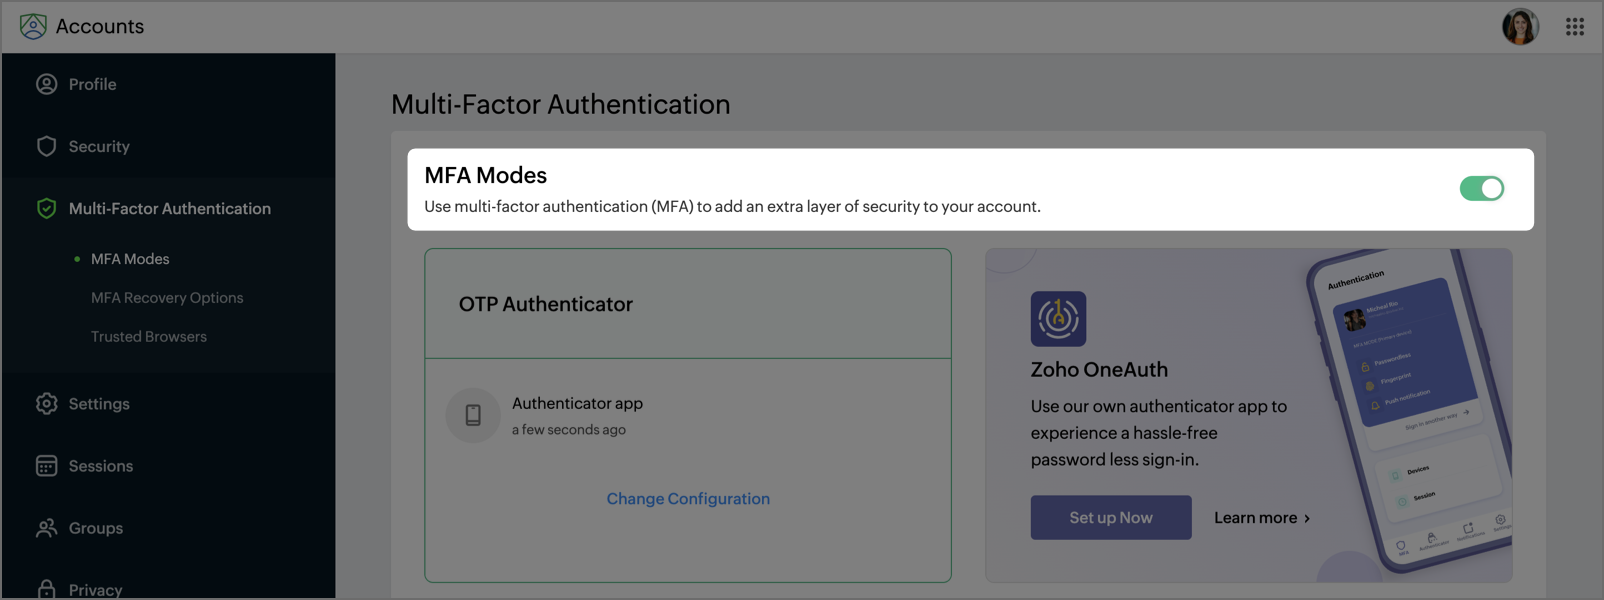
Enable or Disable Multi-Factor Authentication (MFA)
To enable or disable MFA:
- Click your Profile icon and navigate to My Account.
- In the Accounts page, select the Multi-Factor Authentication tab.
- Toggle the switch on the right corner of the MFA Modes page to enable / disable MFA configuration.