Admin Reports
Managing organizational resources efficiently is essential for smooth operations, especially when it comes to scheduling meetings and utilizing shared spaces. Zoho Calendar’s Admin Reports provide a detailed overview of resource bookings, user activity, and calendar events, helping administrators make informed decisions.
Note
Only the Administrators and the Super Administrator of an organization can access Zoho Calendar Admin Reports.
Resource details
The Resource details report provides an overview of your organization's resources along with their booking history. You can do multiple actions with the help of resource details report such as filter the report based on the resource name or location, select a specific date range and view the resource usage during that period, etc. To access the resource details report, follow these instructions:
- Log in to Zoho Calendar.
- Navigate to the Admin console from the User profile section.

- Select Reports on the left pane. The Calendar Admin Reports page opens in a new tab.
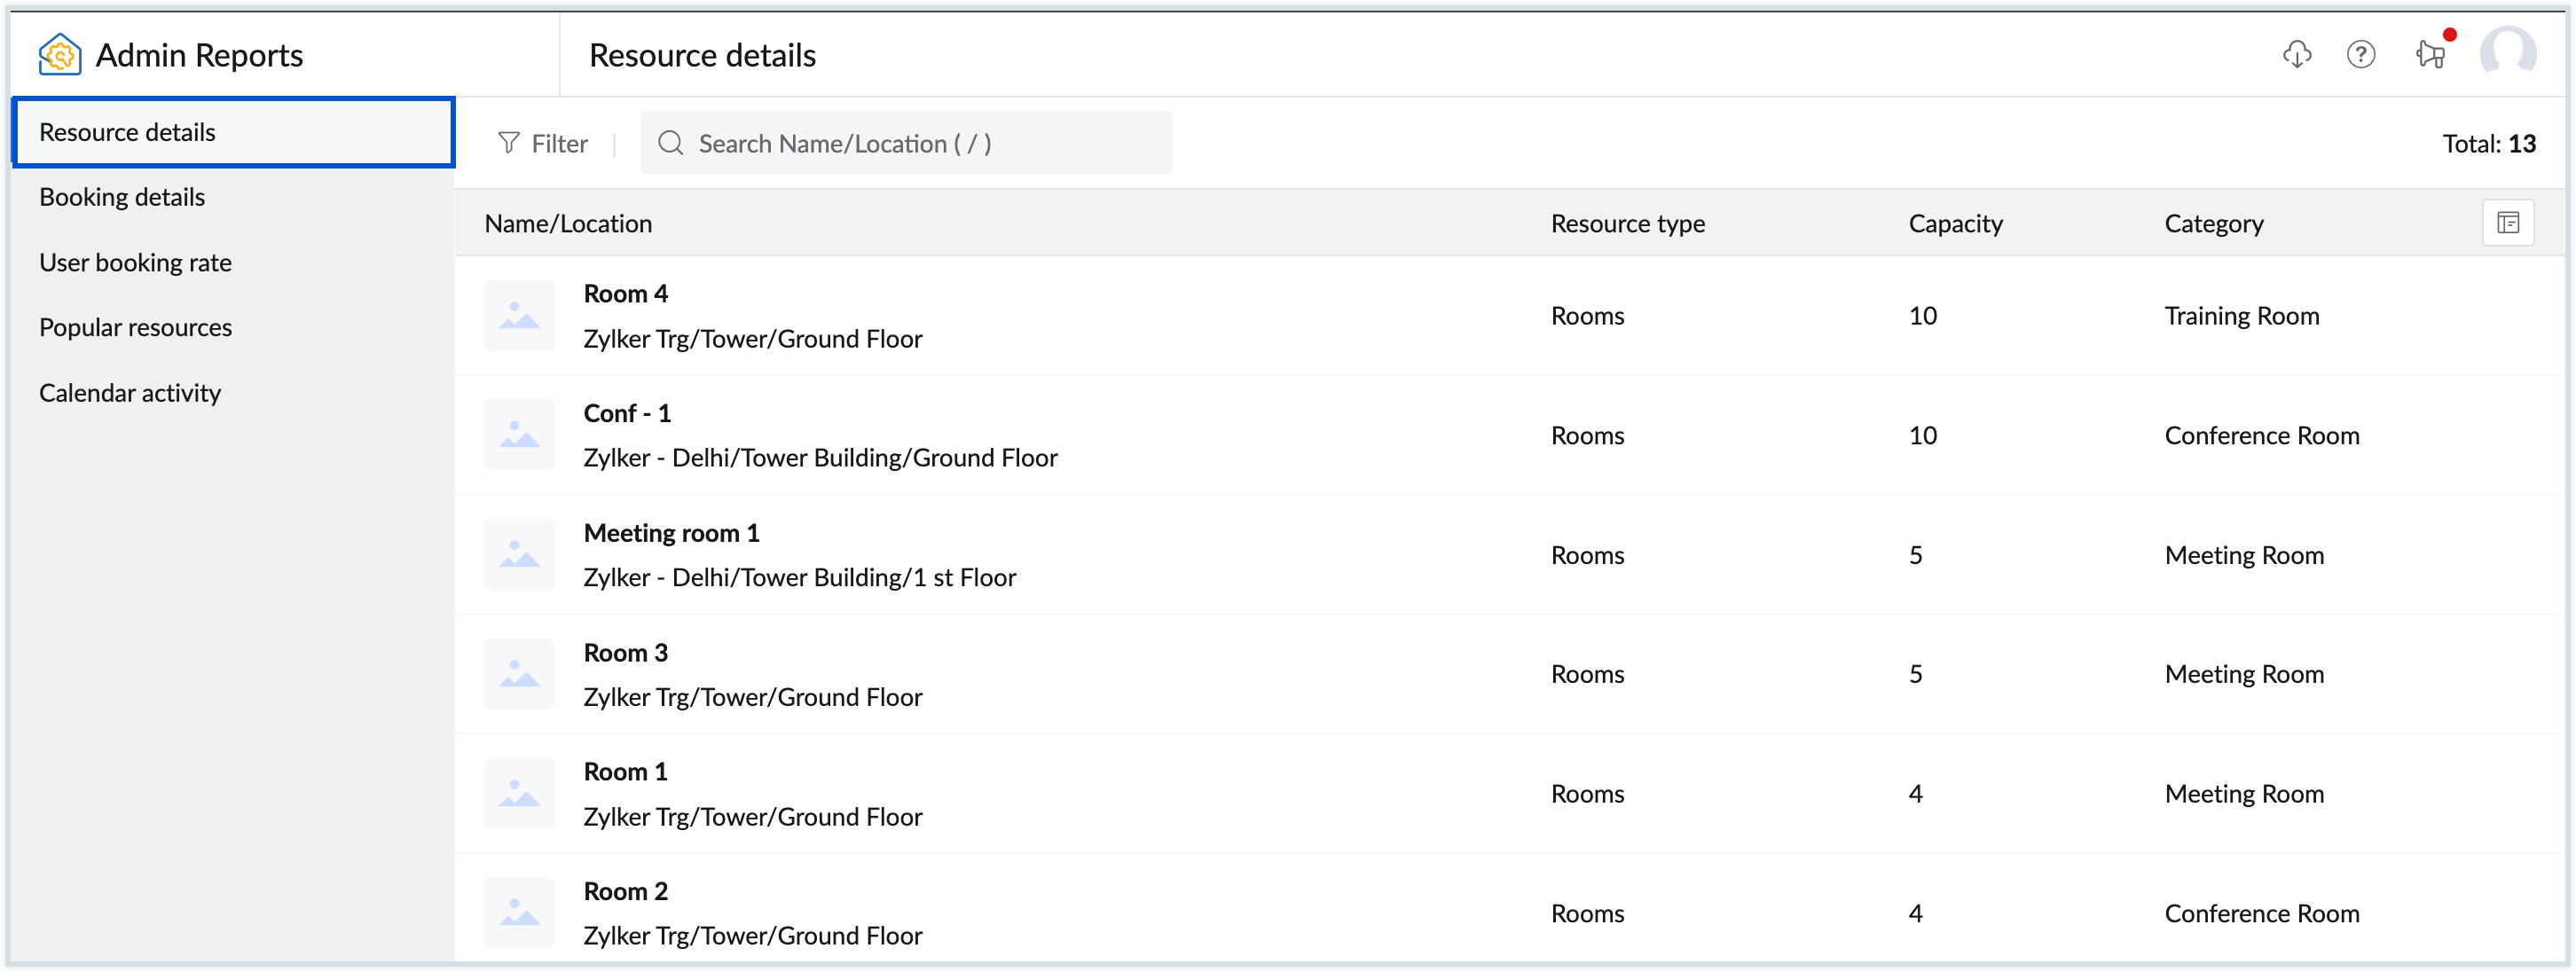
- Navigate to Resource details section in the left pane. The Resource details report displays the below data:
- Name/Location - Displays the resource name and the resource location.
- Resource type - Resource type specifies whether the resource is a meeting room or an additional accessory that is required for a meeting.
- Capacity - The capacity column is mainly applicable to meeting rooms. This helps admins to get an overview of the room's capacity.
- Category - Category denotes the room type such as a training room/meeting room/conference room. This is dependent on the configuration done by administrators while adding an organization resource in the admin settings.
- To narrow down the report, select the Filter option and choose the location.
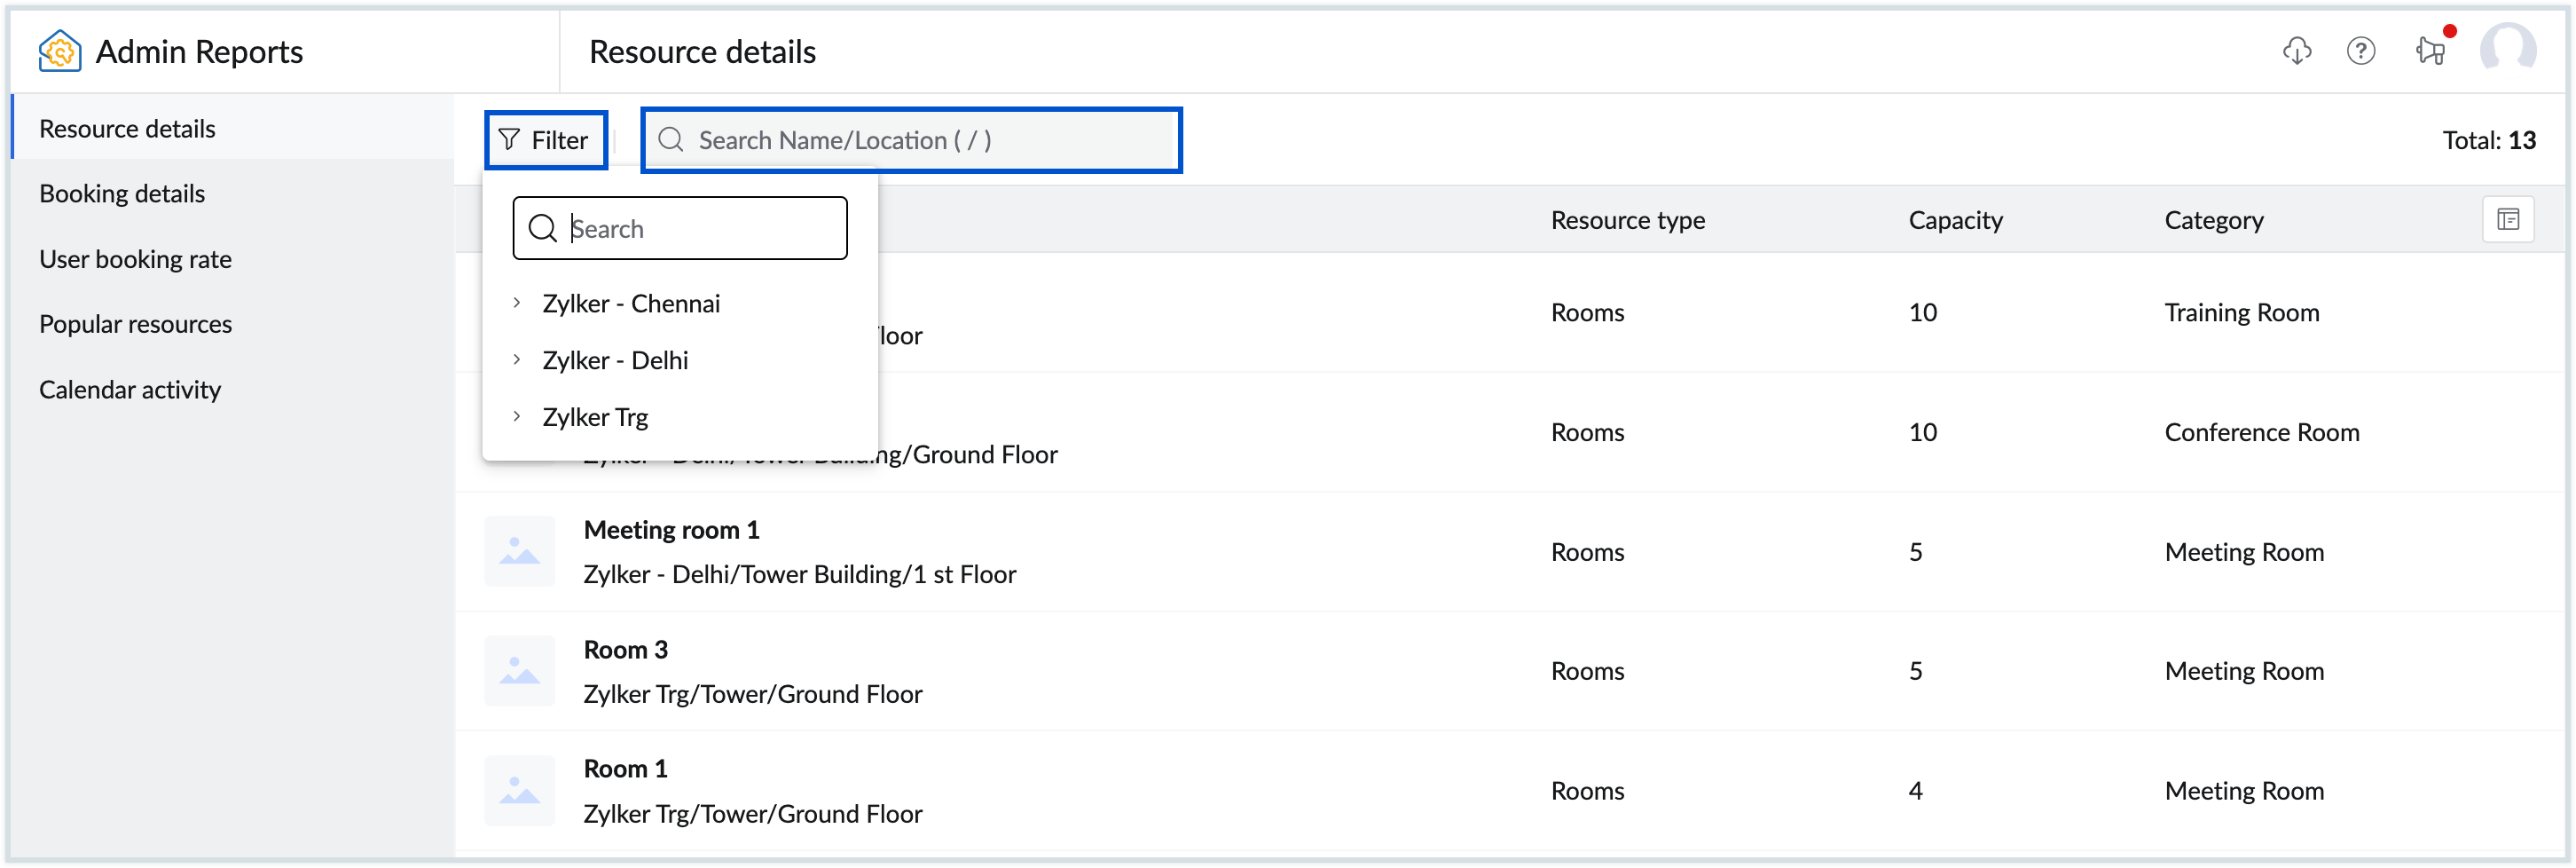
Use the search bar to refine the report based on the resource name/location.
Note
The value entered in the search bar can be the resource name, the country/city, the building name, or the floor on which the resource is located.
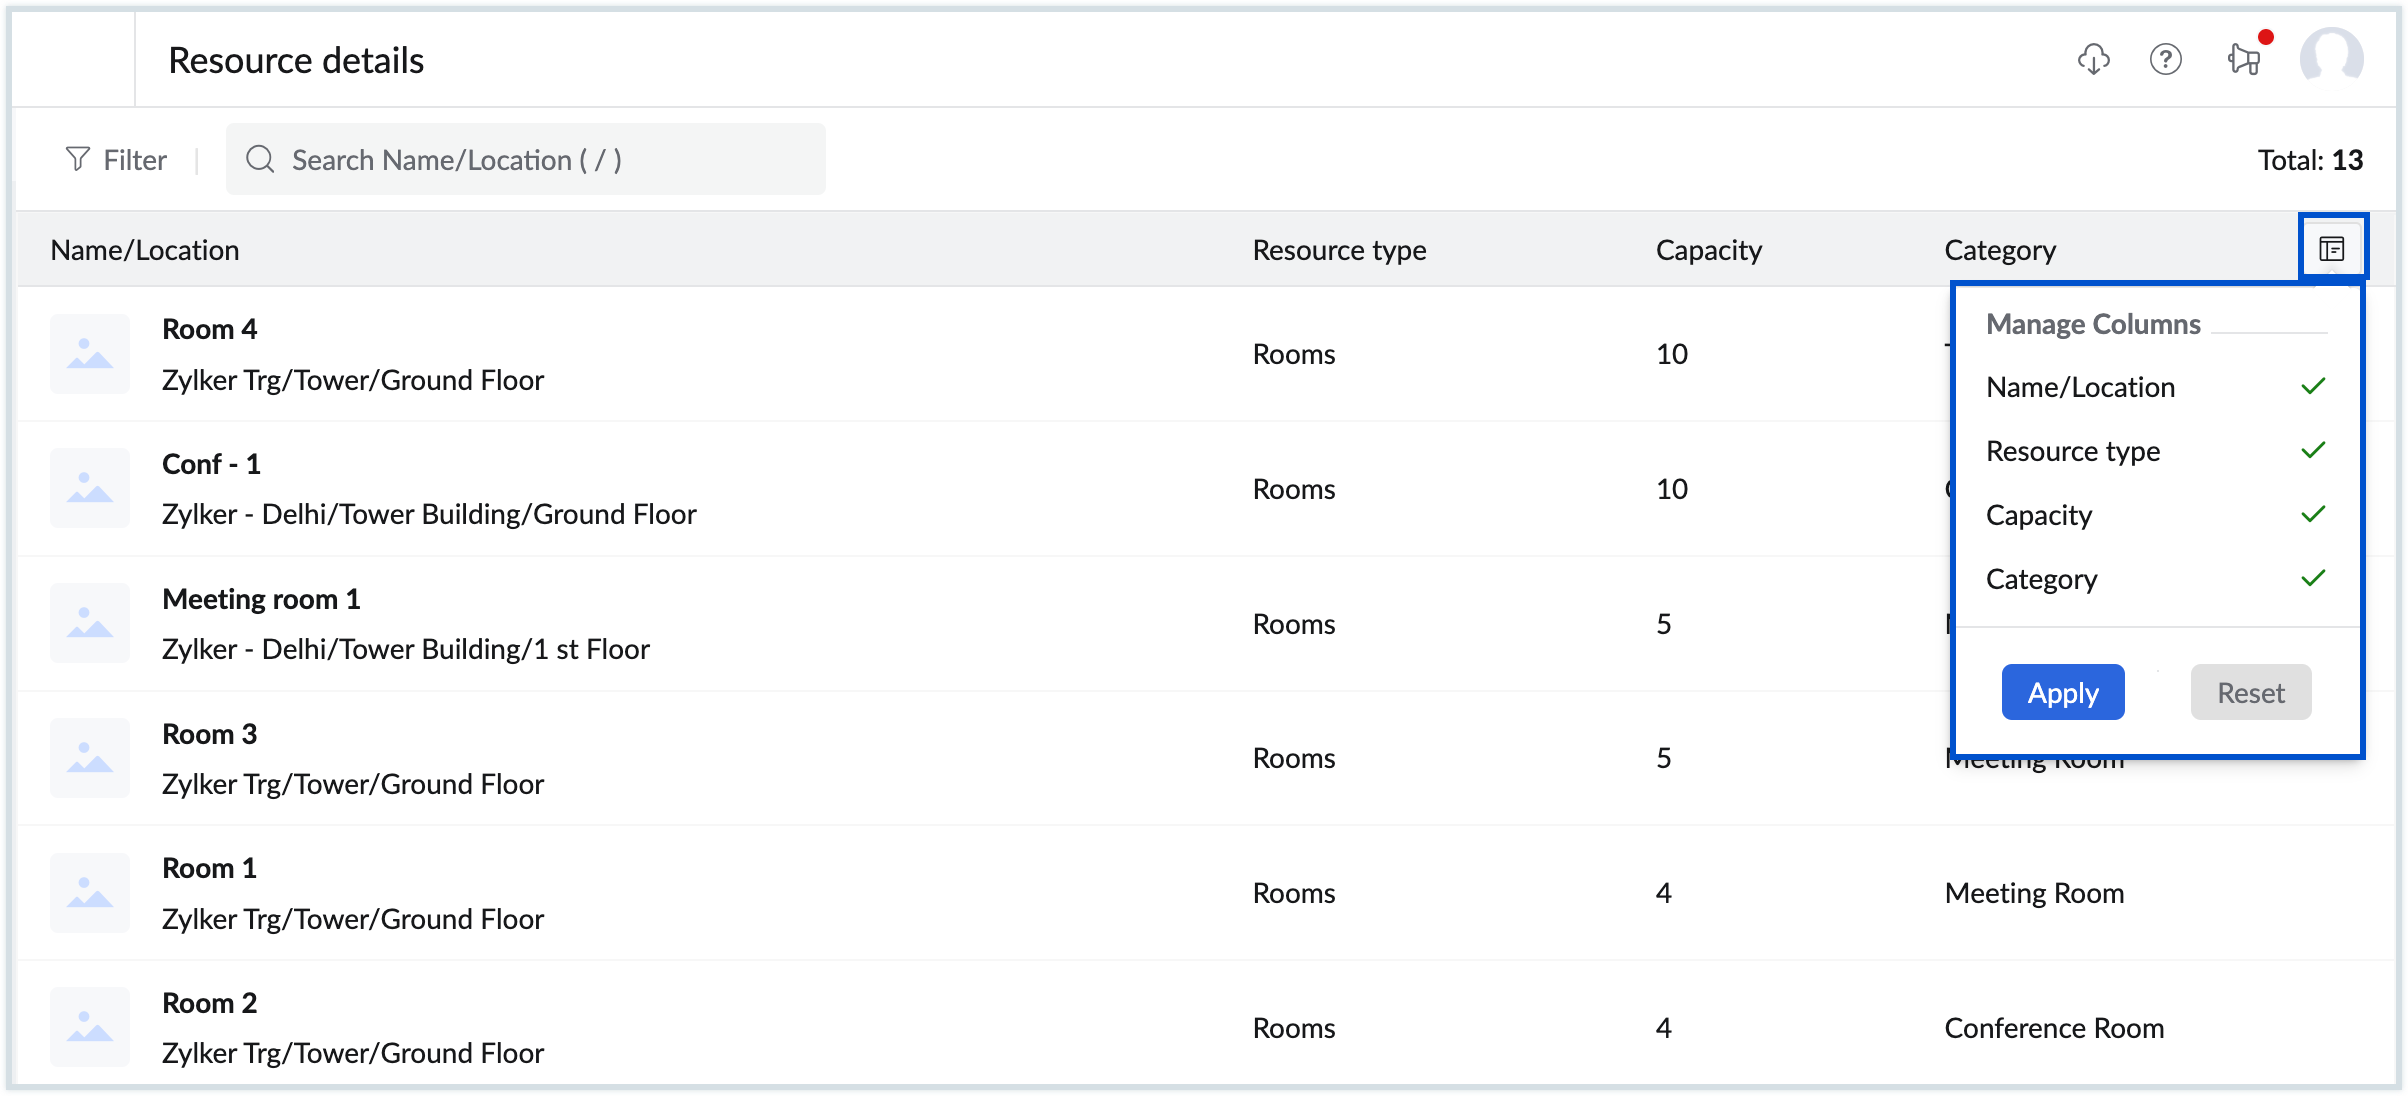
- You can customize the columns displayed using the Manage Columns option.
- Select the desired resource to view the Booking history.
- If required, select the preferred date range to narrow down the booking history.
- The Booking history view provides the information that follows:
- Booking title - The title is a mandatory field given by the organizer for each booking. It provides a brief description of the meeting, such as "Onboarding new employees", "Marketing team internal audit", etc.
- Booked by - Displays the email address of the user who booked the resource.
- Duration - Specifies the duration for which the resource was booked.
- Start time - Indicates the booking start date and time.
- End time - Indicates the booking end date and time.
- Recurring - This field mentions whether a resource is booked for a recurring meeting or for a one-time occasion.


To view the participants/attendees of a meeting, navigate to the Booking Details section and select the appropriate resource.
Booking details
The Booking details report comes in handy when an admin wants to view either the booking history or the future bookings of a resource. The report also provides details about the recurring dates and participants/attendees of the meeting.
Follow these steps to view the booking details report:
- Log in to Zoho Calendar.
- Navigate to the Admin console from the User profile section.
- Select Reports on the left pane. The Calendar Admin Reports page opens in a new tab.
- Navigate to Booking details section in the left pane. The booking details report displays the below data:
- Title - A brief description for which the resource is booked by the organizer.
- Room name - Mentions the room name.
- Location - Displays the resource location such as city, building name, floor etc.
- Booked by - Displays the email address of the user who booked the resource.
- Duration - Specifies the duration for which the resource was booked.
- Start time - Indicates the booking start date and time.
- End time - Indicates the booking end date and time.
- Recurring - This field mentions whether a resource is booked for a recurring meeting or for a one-time occasion.

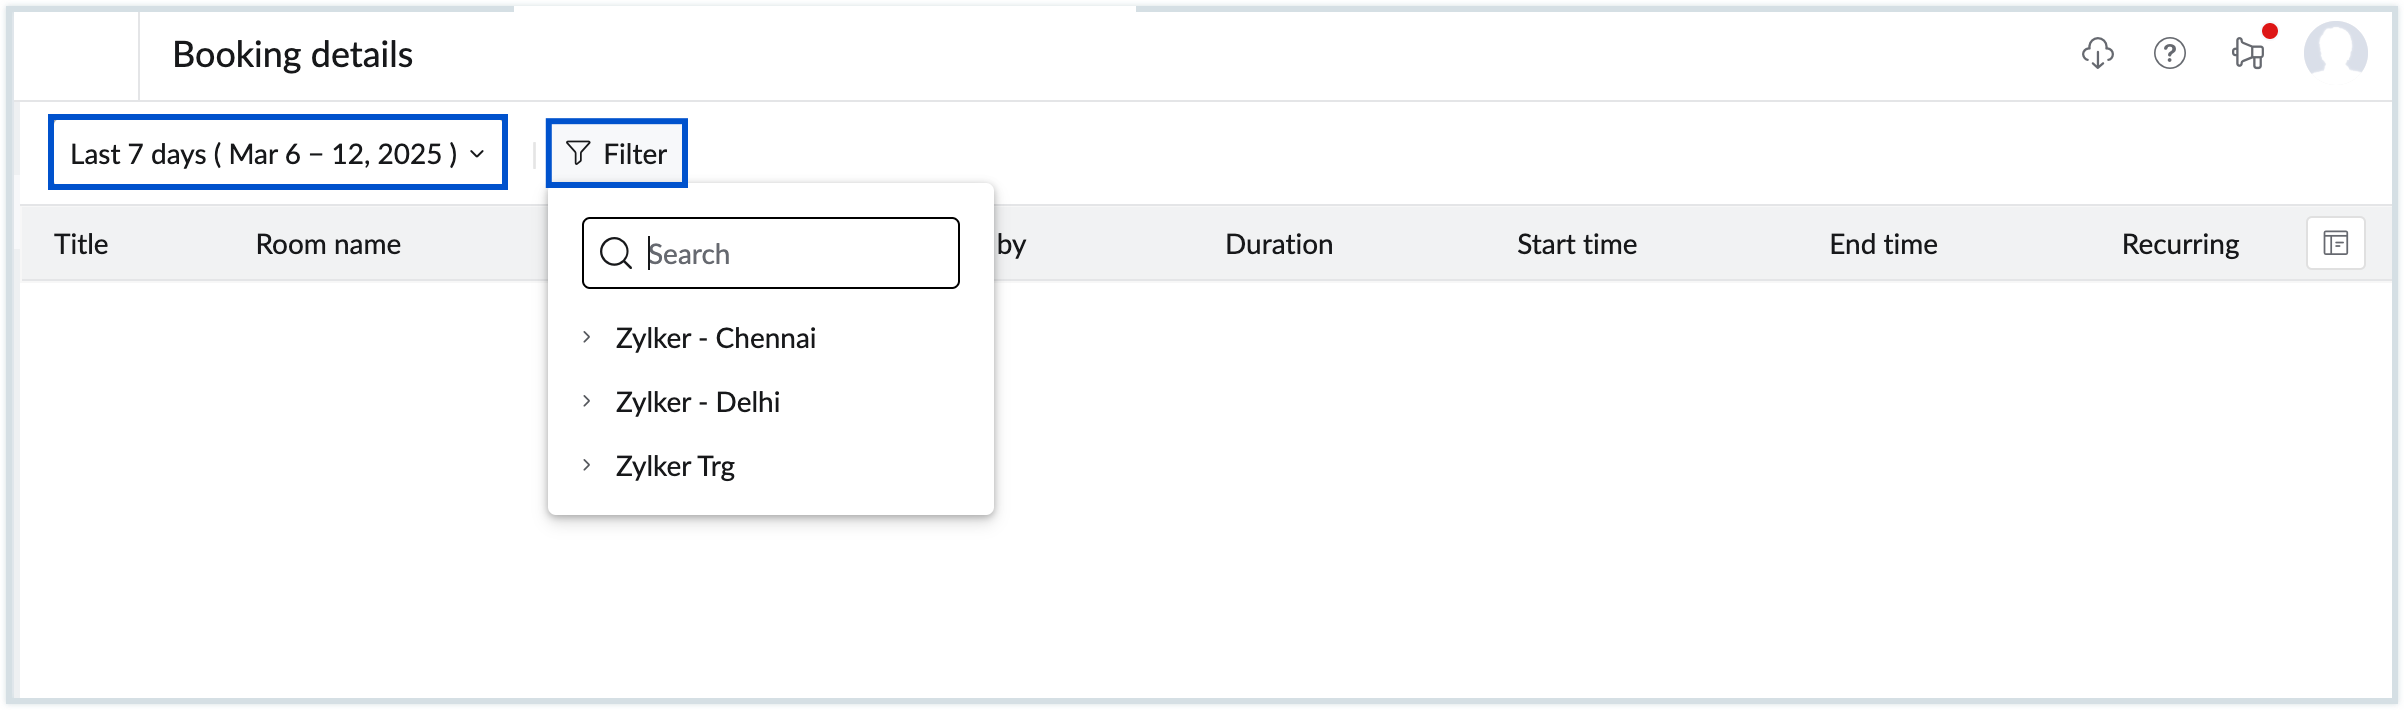
- Select the desired date range for which you wish to view the booking details. The range can either be in the past or for an upcoming week.
- To narrow down the report, select Filter and drill down to the desired location. Booking details appear based on the selections made.
- You can customize the columns displayed using the Manage Columns option.


User booking rate
The User booking rate report displays the list of organization users and their corresponding booking counts. Additionally, you can utilize the Date and Location filters to refine your results.
Follow these steps to view the User booking rate report:
- Log in to Zoho Calendar.
- Navigate to the Admin console from the User profile section.
- Select Reports on the left pane. The Calendar Admin Reports page opens in a new tab.
- Navigate to User booking rate in the left pane. The User booking rate report displays the following data:
- Name / Email - Mentions the user name and the mailbox address of the user.
- No of bookings - Displays the number of bookings made by the user.

- Select the desired date range for which you wish to view the user booking details. The range can either be in the past or for an upcoming week.
- To narrow down the report, click the Filter icon and select the desired location. User booking details appear based on the selections made.


Popular Resources
The Popular resources report provides stats on the top fifty frequently used resources. The report can be filtered based on predefined or custom date ranges. Alternatively, you can use the search bar to filter the report based on resource name or location.
Follow these steps to view the Popular resources report:
- Log in to Zoho Calendar.
- Navigate to the Admin console from the User profile section.
- Select Reports on the left pane. The Calendar Admin Reports page opens in a new tab.
- Navigate to Popular resources section in the left pane.

- The popular resources report is available in two formats:
- Graphical chart - Provides a consolidated view of the top fifty resource bookings. You can download or expand the chart based on your preference. Click the legend to show/hide a particular resource.

- Report table - Displays the resource usage details given below:
- Room name - Name of the meeting room.
- Location - Location of the resource which includes country/city, building name, floor number, etc.
- Meeting count - Number of occasions that the resource was booked during the selected date range.
- Used hours - Denotes the total hours that a particular room was used.
- Free hours - Number of hours that the resource is free/available for booking.
- Working hours - Displays the total hours available in the selected duration.
- Free % - The free percentage is a measure of the total availability of a resource vs the number of free hours.
- Utilization % - The utilization percentage is a value of the total availability of a resource vs the number of hours it was booked.
- You can customize the columns displayed using the Manage Columns option.

- Graphical chart - Provides a consolidated view of the top fifty resource bookings. You can download or expand the chart based on your preference. Click the legend to show/hide a particular resource.


Calendar Activity
The Calendar activity report helps you to track all the actions performed in the Calendar Admin Console by admins. To access Calendar activity report, follow these steps:
- Log in to Zoho Calendar.
- Navigate to the Admin console from the User profile section.
- Select Reports on the left pane. The Calendar Admin Reports page opens in a new tab.

Select Calendar activity. The Calendar activity page displays the below information.
Event category Mentions the Category in which the change was performed. Event description The details of the event and the changes made are displayed. Performed by Mentions which admin made the respective changes in the events. Event time Mentions when-the date and time, the event was performed. Client IP address The IP address of the mail client from which the actions have been performed will be displayed. - Each event is listed with a colour code based on the operation performed to facilitate quick identification of event logs. The color codes are as follows:
- Green - Add
- Yellow - Update
- Red - Delete
- Blue - Download
- Violet - Read
- Click on the Date filter to select the time period for which you want to see the report.

Note
By default, the Calendar Activity logs are retained for a period of one year.