Create & Send Purchase Orders
- Statuses of Purchase Orders
- Enabling Purchase Order
- Creating a New Purchase Item
- Creating a New Purchase Order
- Creating Purchase Order from Contacts
Statuses of Purchase Orders
| Purchase Order Status | Description |
|---|---|
| Draft | Purchase orders when created will be in the Draft status. |
| Open | Purchase orders once sent to the vendor will be in the Open status. |
| Closed | Purchase order once accepted by a vendor can be converted to a bill and the status will be Closed. |
| Cancelled | If the vendor rejects your purchase order, the order can be cancelled and the status will be Cancelled. |
| Bill Status | Description |
|---|---|
| Partially Billed | When the purchase order is billed only for some items, then the status will be Partially Billed. |
| Billed | Once the purchase order is converted to a bill, the status will be Billed. |
Enabling Purchase Order
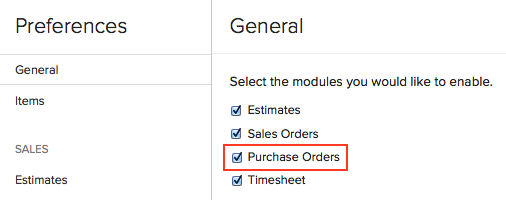
Navigate to the Preferences tab under the Settings page, Choose the General option from the preferences list and check the Purchase Orders option from Select the modules you would like to enable and click on Save to enable purchase order.
Creating a New Purchase Item
Before you proceed to creating a purchase order, you can create an item.
Creating a new account: Create a new Cost of Goods sold(COGS) account in the Chart of accounts tab under settings found in the left bottom corner. The COGS account is necessary to map the item that is purchased, to your accounting books.
Creating a new item: If you would be buying an item on a regular basis, you can create the item as a purchase item and map the same to a COGS account that you already have(If you do not have one, create a new COGS account). You can create it in the items tab under settings, or when creating the purchase order.
Creating a New Purchase Order
- Click on the + icon either next to the Purchase Order tab or the
 icon placed on top of the purchase order window to create a new purchase order.

Note: To create pre GST transaction(transactions dated before 1st July 2017), click the dropdown adjacent to the +New button and select Create Purchase Order (Pre GST)
- You will be navigated to a new window for entering the details for the new purchase order to be created.
Enter the details for the vendor related fields
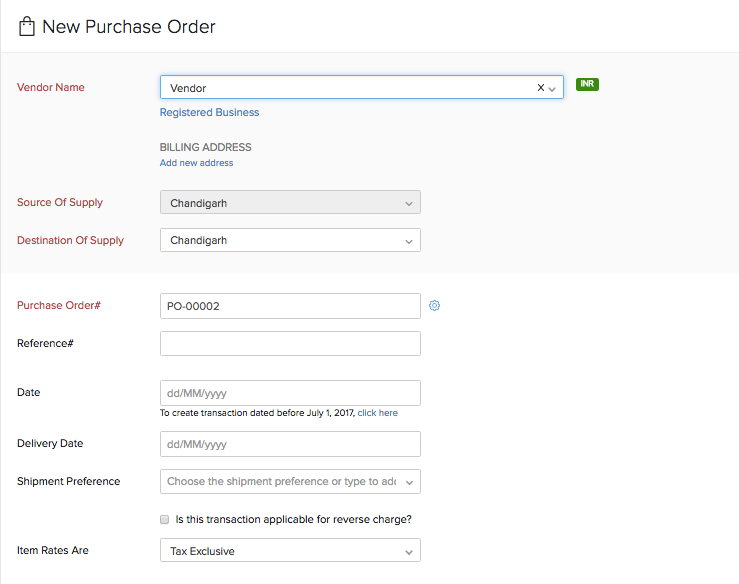
- Under the Vendor name field, you can either pick the vendors from the list you have already created or you can add a new vendor.
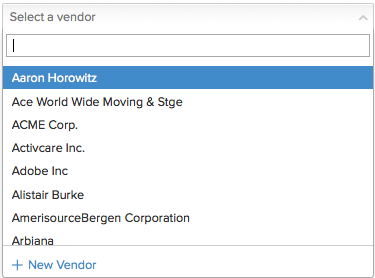
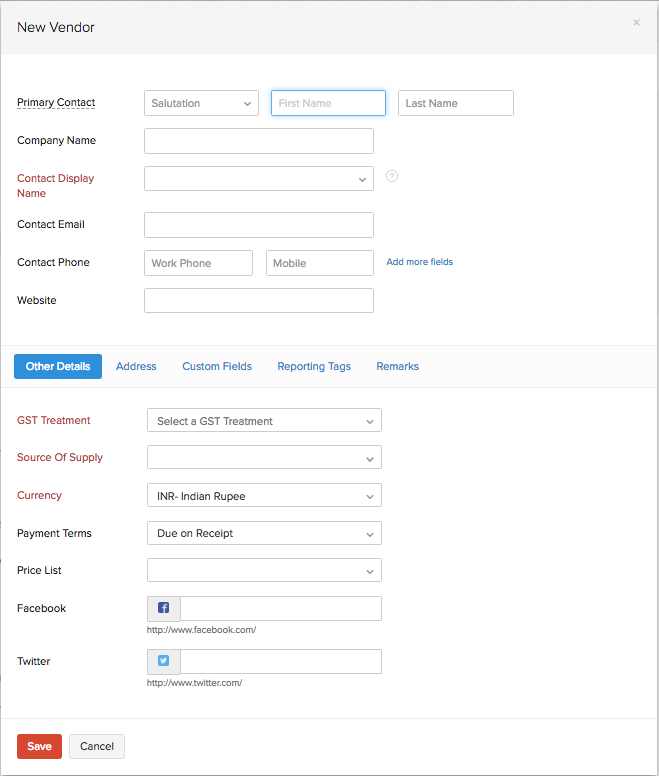
After filling up the required details, click on Save to add the new vendor to the purchase order being created.
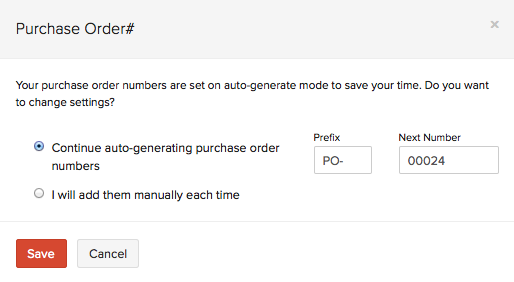
In the Purchase Order# tab a purchase order number is generated by default. If you wish to manually enter a purchase order number, click on the Settings icon next to the tab and a pop-up will appear where you can select between auto-generated estimate number or manual entry of purchase order numbers.
Date tab is the date on which the purchase order is created.
In the Delivery Date tab, you can set the date by which the product should be delivered by the vendor to the you.
In the Shipment Preference tab, you can choose or type to add the preferred method of shipment to be done by the vendor.
In the ‘Item Rates Are’ tab, you can choose your line items to be ‘Tax Exclusive’ or ‘Tax Inclusive’
Enter the Item Details for the Purchase Order.
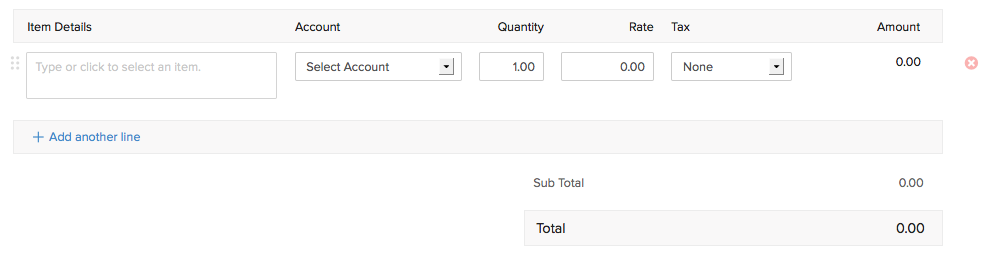
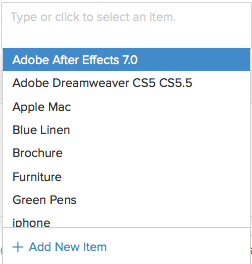
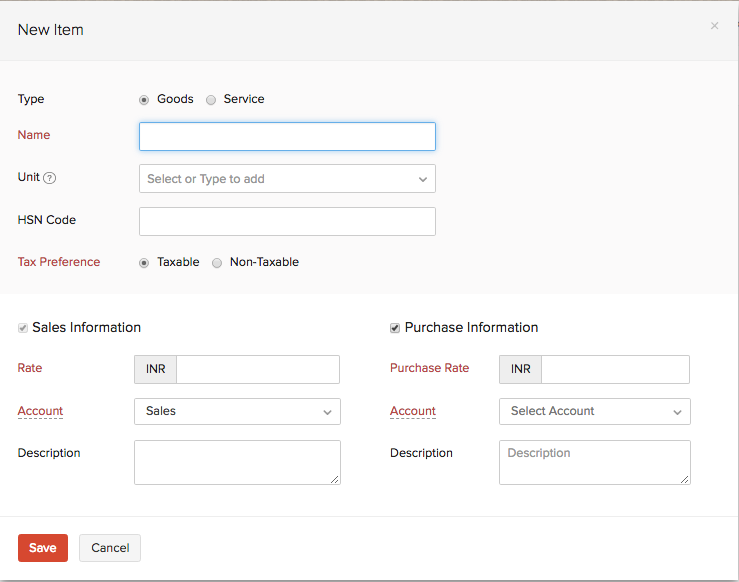
- Items can be added from the list of items shown in the drop down that are already created by you in your Zoho Books account. If you want to add a new item select the Add New Item option from the drop down which will navigate to a pop-up for filling the details for a adding a new item. Learn more about Creating New Items
To add another item, click on Add another line option.
Enter the Quantity, Rate and Tax if applicable from the drop down. Tax drop down shows only the taxes you created in the settings tab under taxes section. Learn more about Taxes.
You can enter the Notes and Terms & Conditions for the purchase order. Check the Use this in future box to use the terms & conditions in all future purchase orders. This will be carried forward while converting the purchase order into an invoice.
The address to deliver can be changed by clicking on the Destination to Deliver.
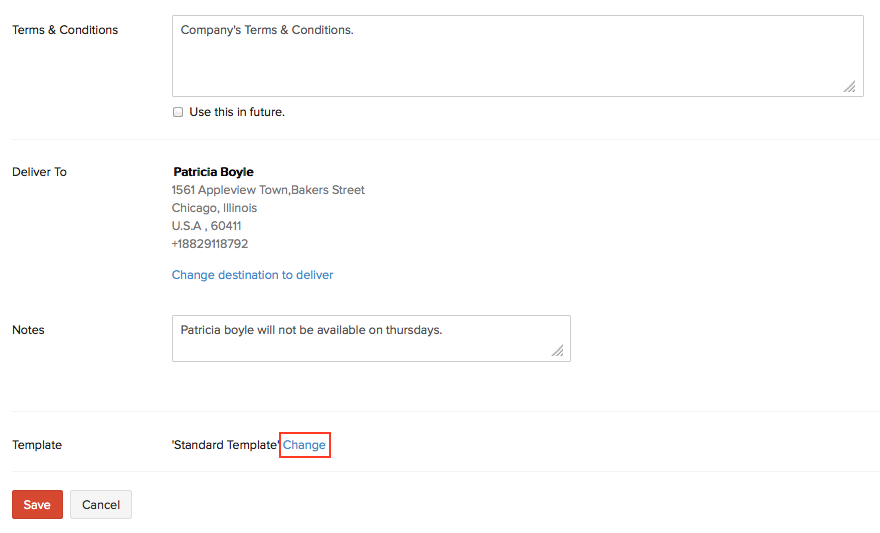
- You can also change the Template of the purchase order, by clicking on Change and select another template.
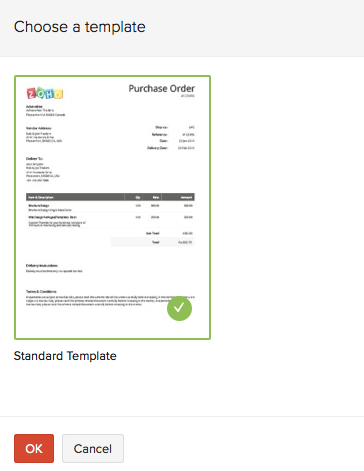
P.S: Templates can be customized by navigating to Setting > More Settings >Templates and choosing from the purchase order templates. Learn more about associating templates to specific contact.
- Now click on Save as Draft to save the new purchase order in draft state, Save and Send to save the purchase order as open and the purchase order will also be sent to the contact.
Creating a Purchase Order from Contacts
Navigate to the Contacts tab and click on a specific contact to whom you wish to create a purchase order for.
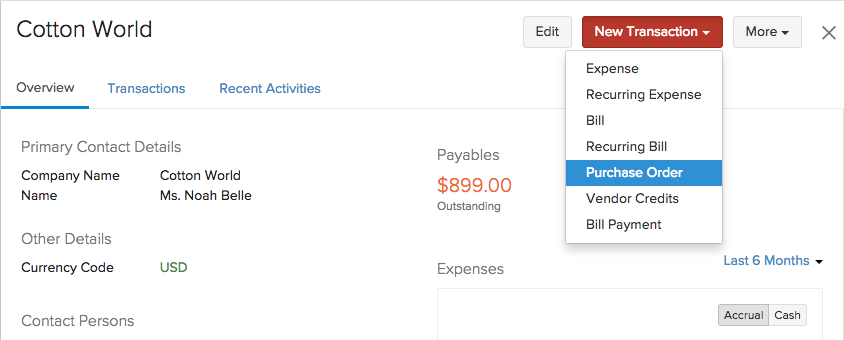
Above the Contact window, you will find a New Transaction button placed.
Click on the New Transaction button and select Purchase Order, a new window will appear for creating a new purchase order for that specific contact.
Now you can follow the procedure to successfully create a purchase order for the contact.
After creating the new purchase order, you will be able to find the purchase order in draft under the Purchase Orders tab.
Converting Purchase Order to a Bill
Back to Purchase Order Overview
 Yes
No
Yes
No
 Thank you for your feedback!